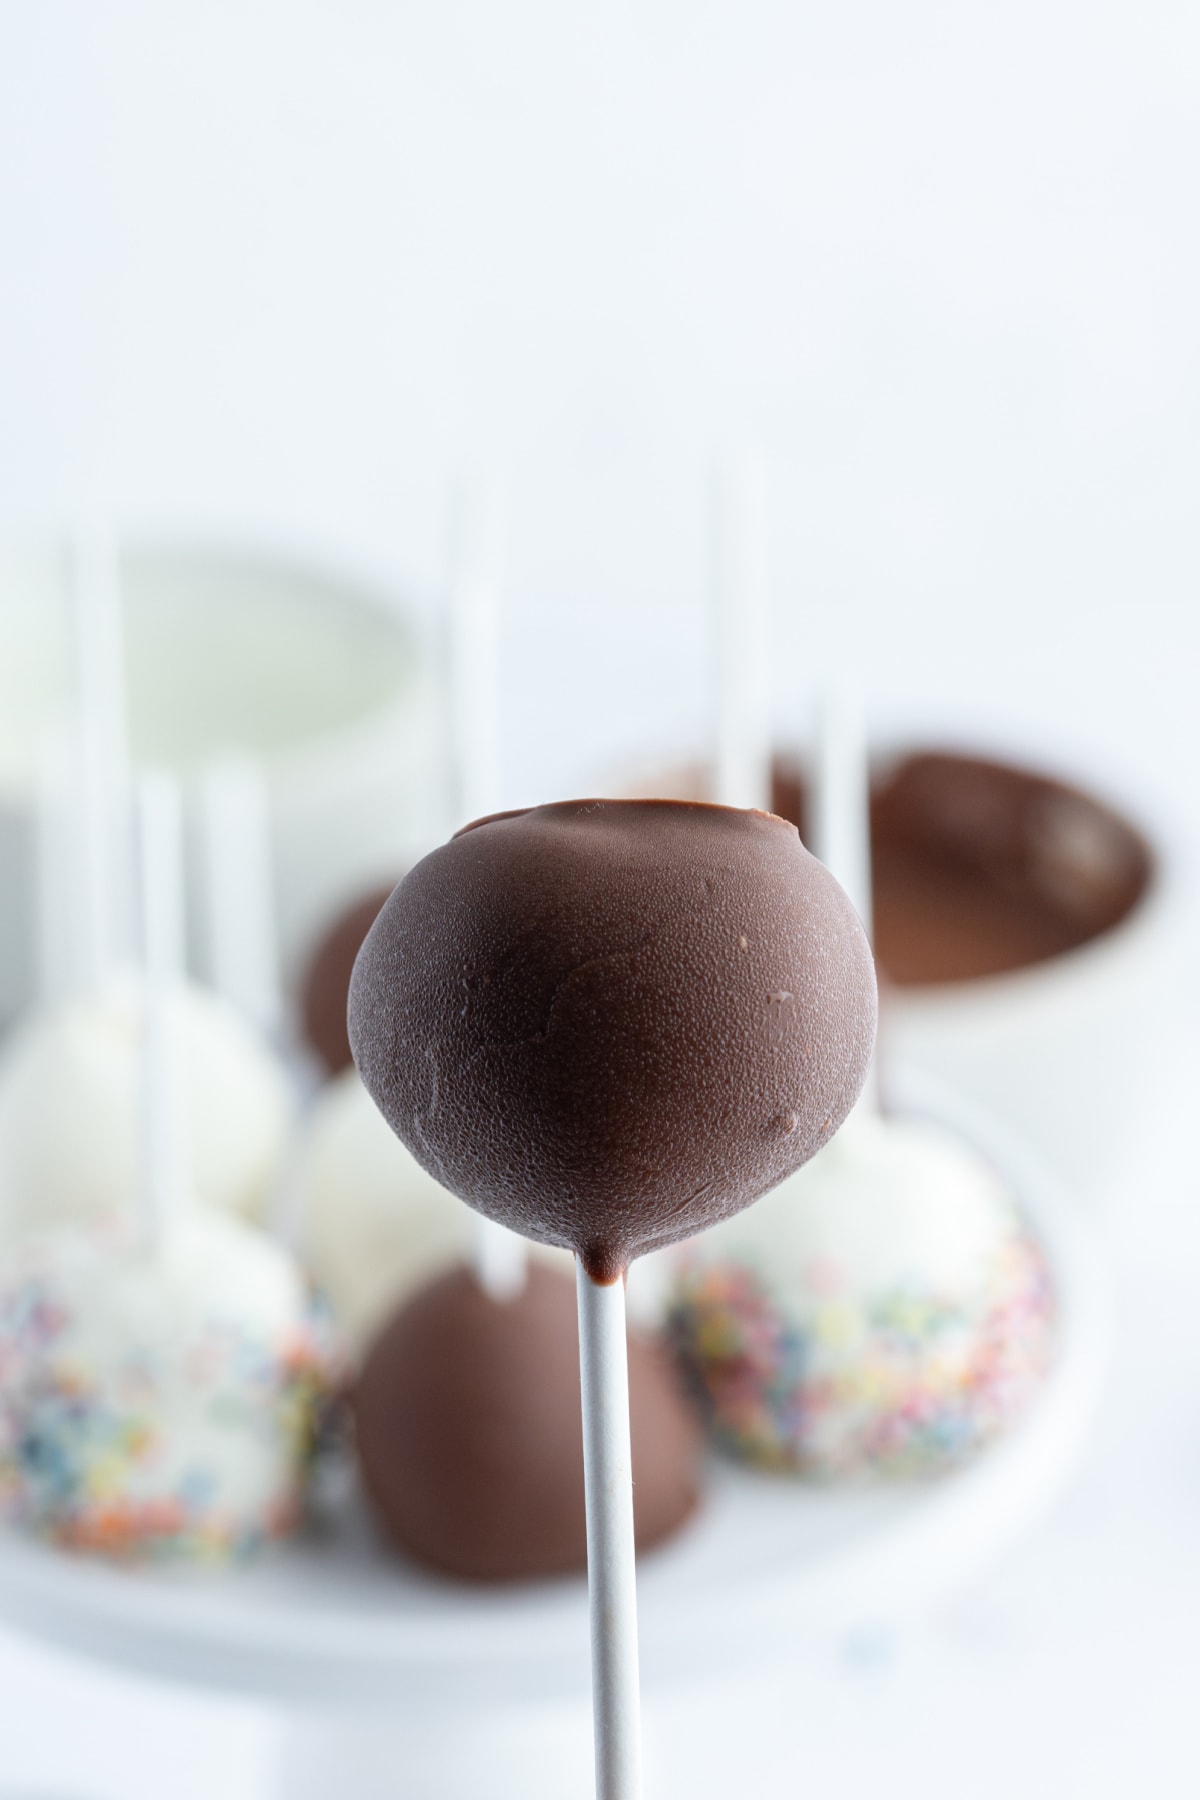
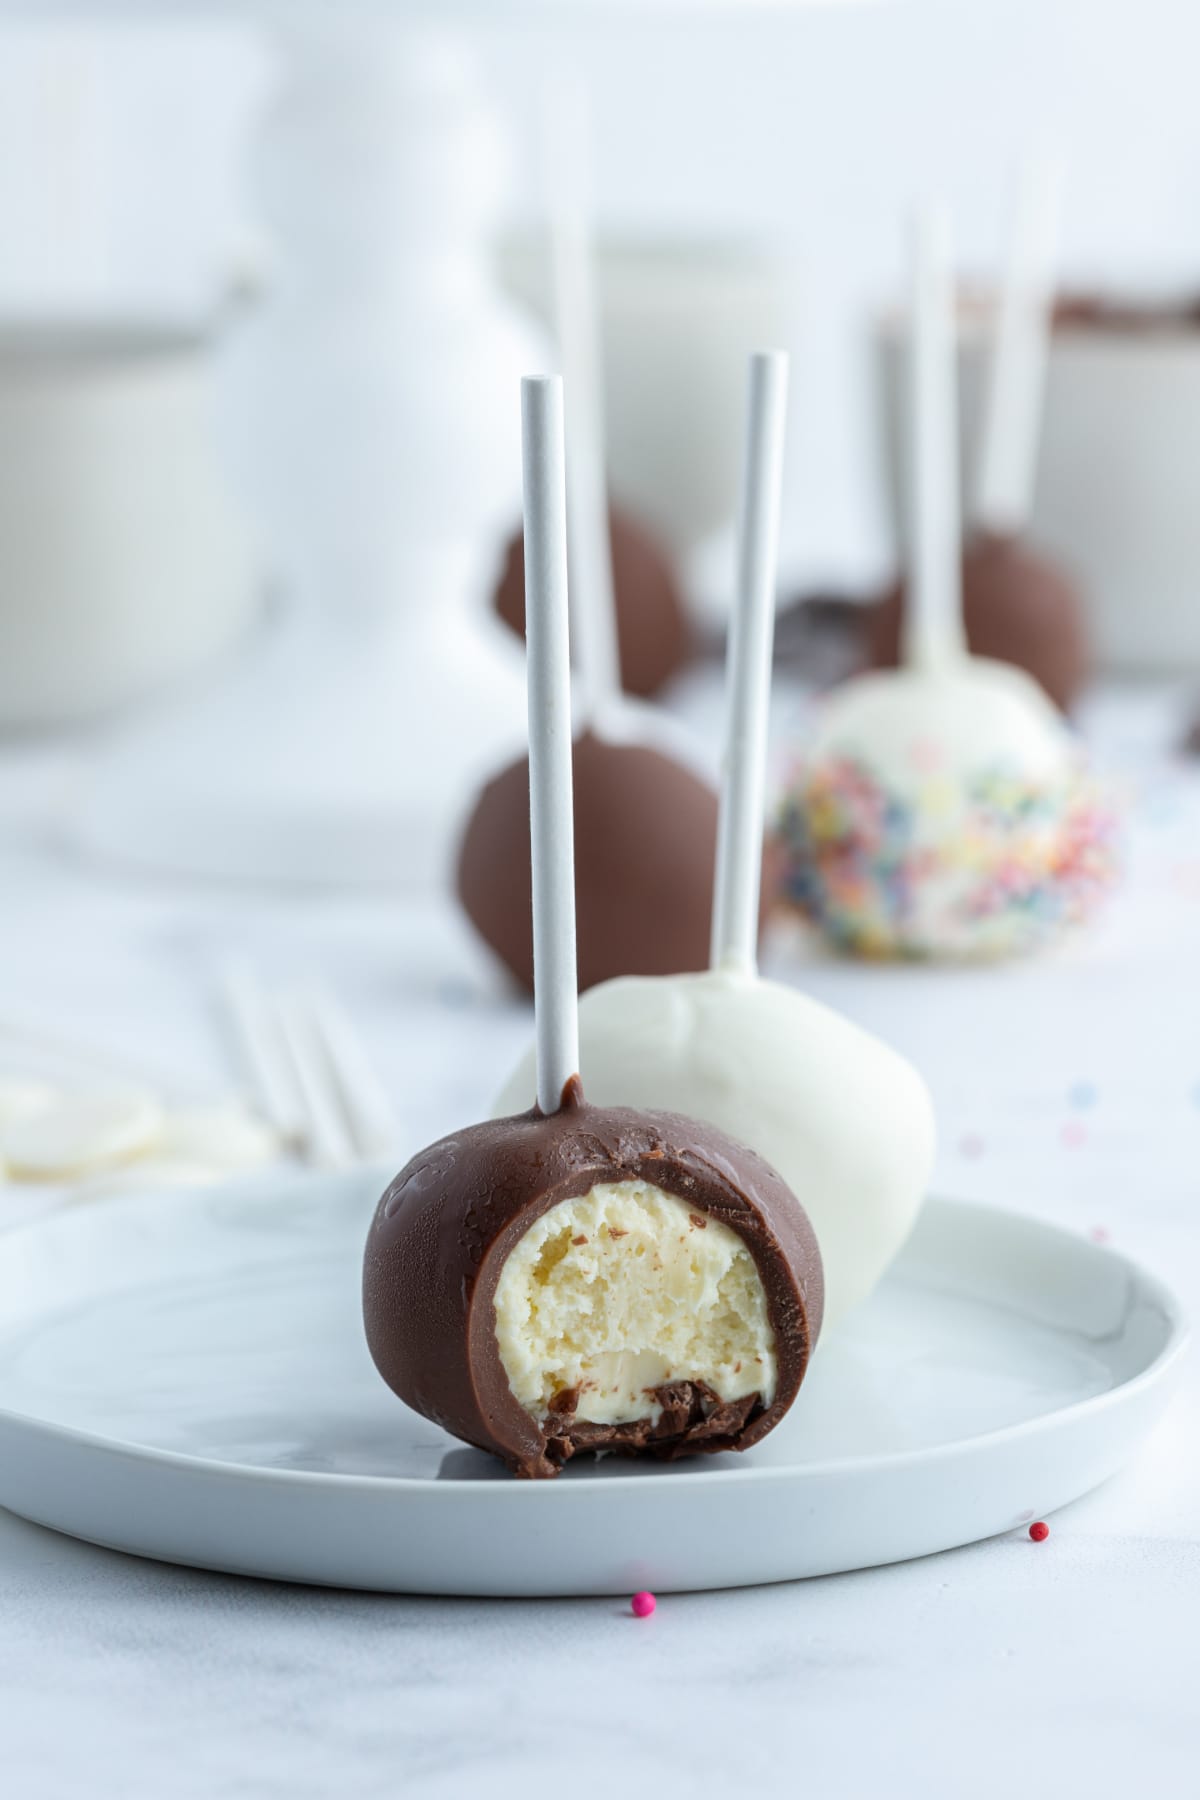
Cheesecake lovers will appreciate these Cheesecake Pops. They’re served on a stick, and they are dipped in chocolate. Cheesecake pops are fun for all kinds of occasions!
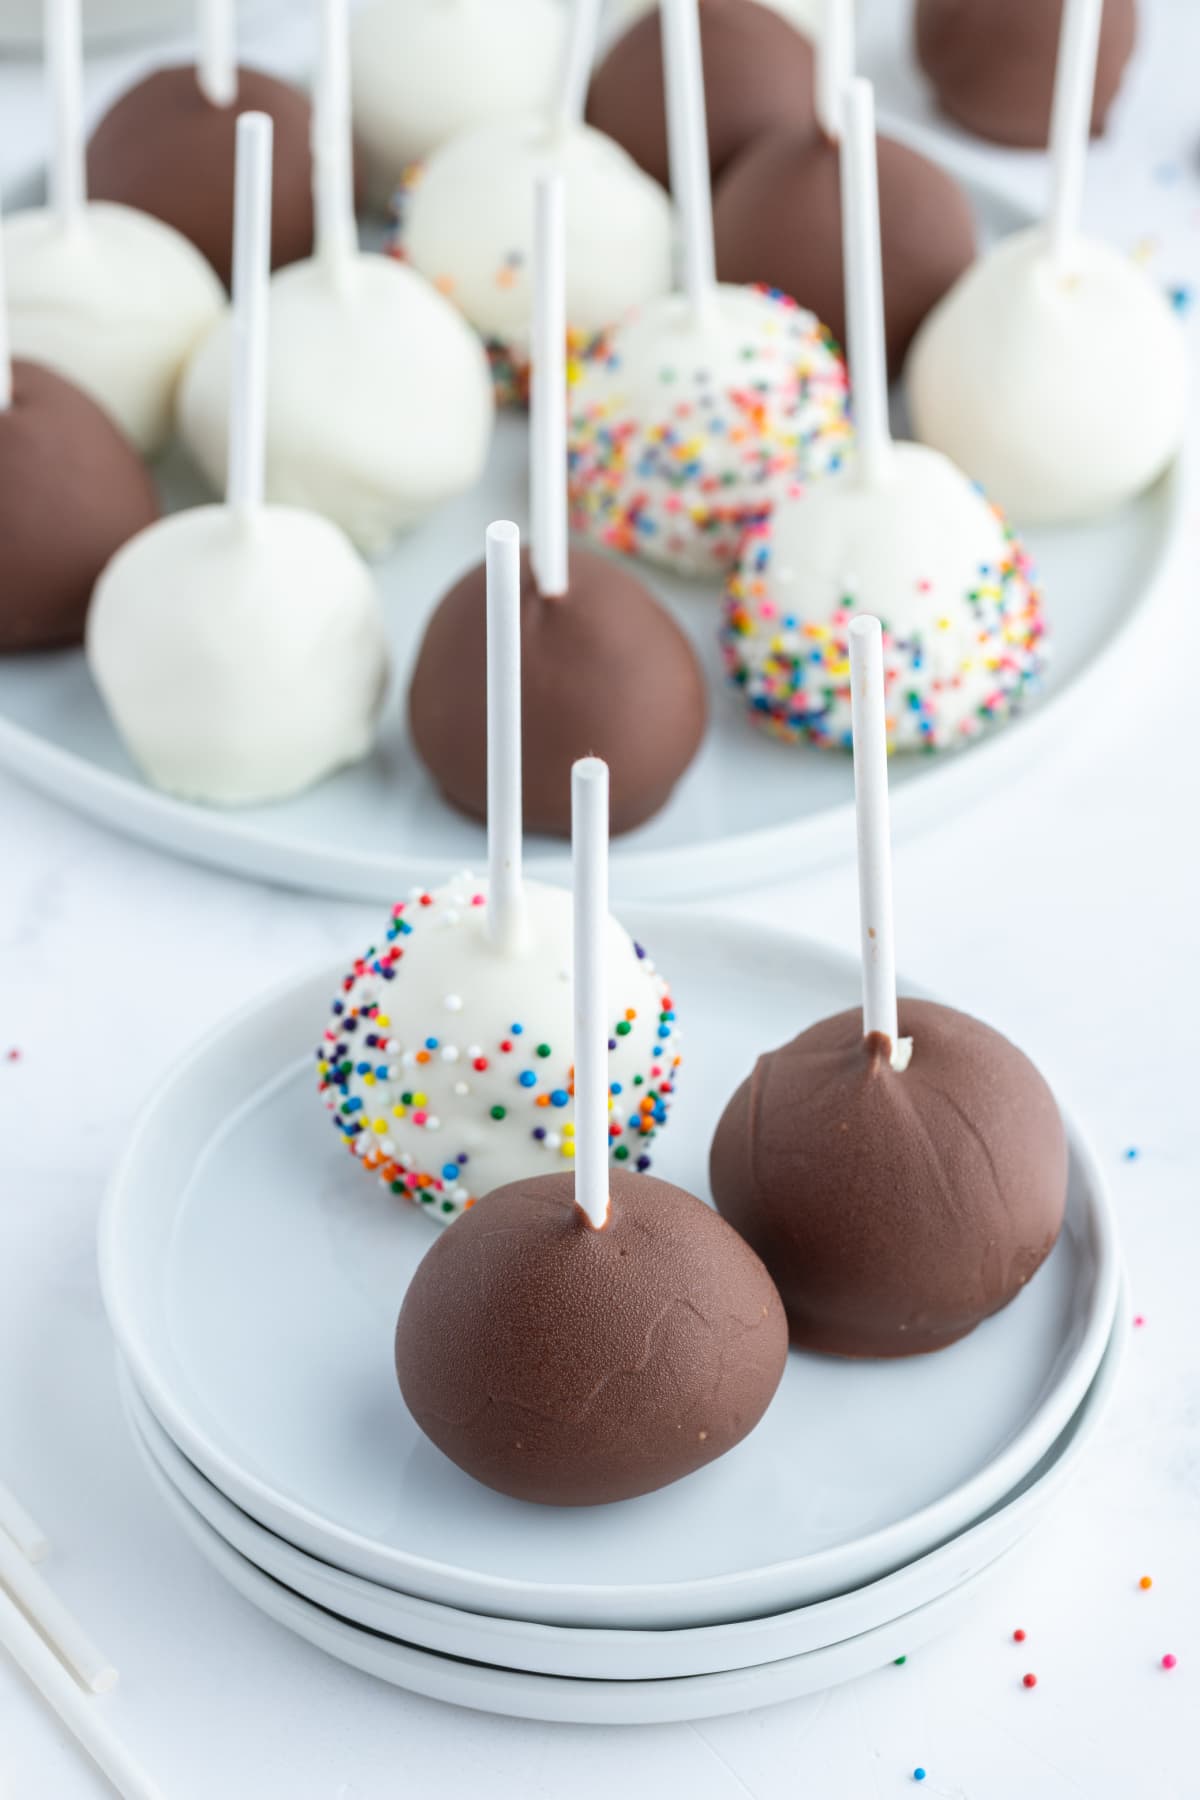
These pops are almost as good as a slice of your favorite cheesecake. It’s just another way to serve them. They’re great for a party. And if you read through the tips in my post, I have a quick and easy way to make them too! The best part about the pops is that they’re as delicious as they are adorable.
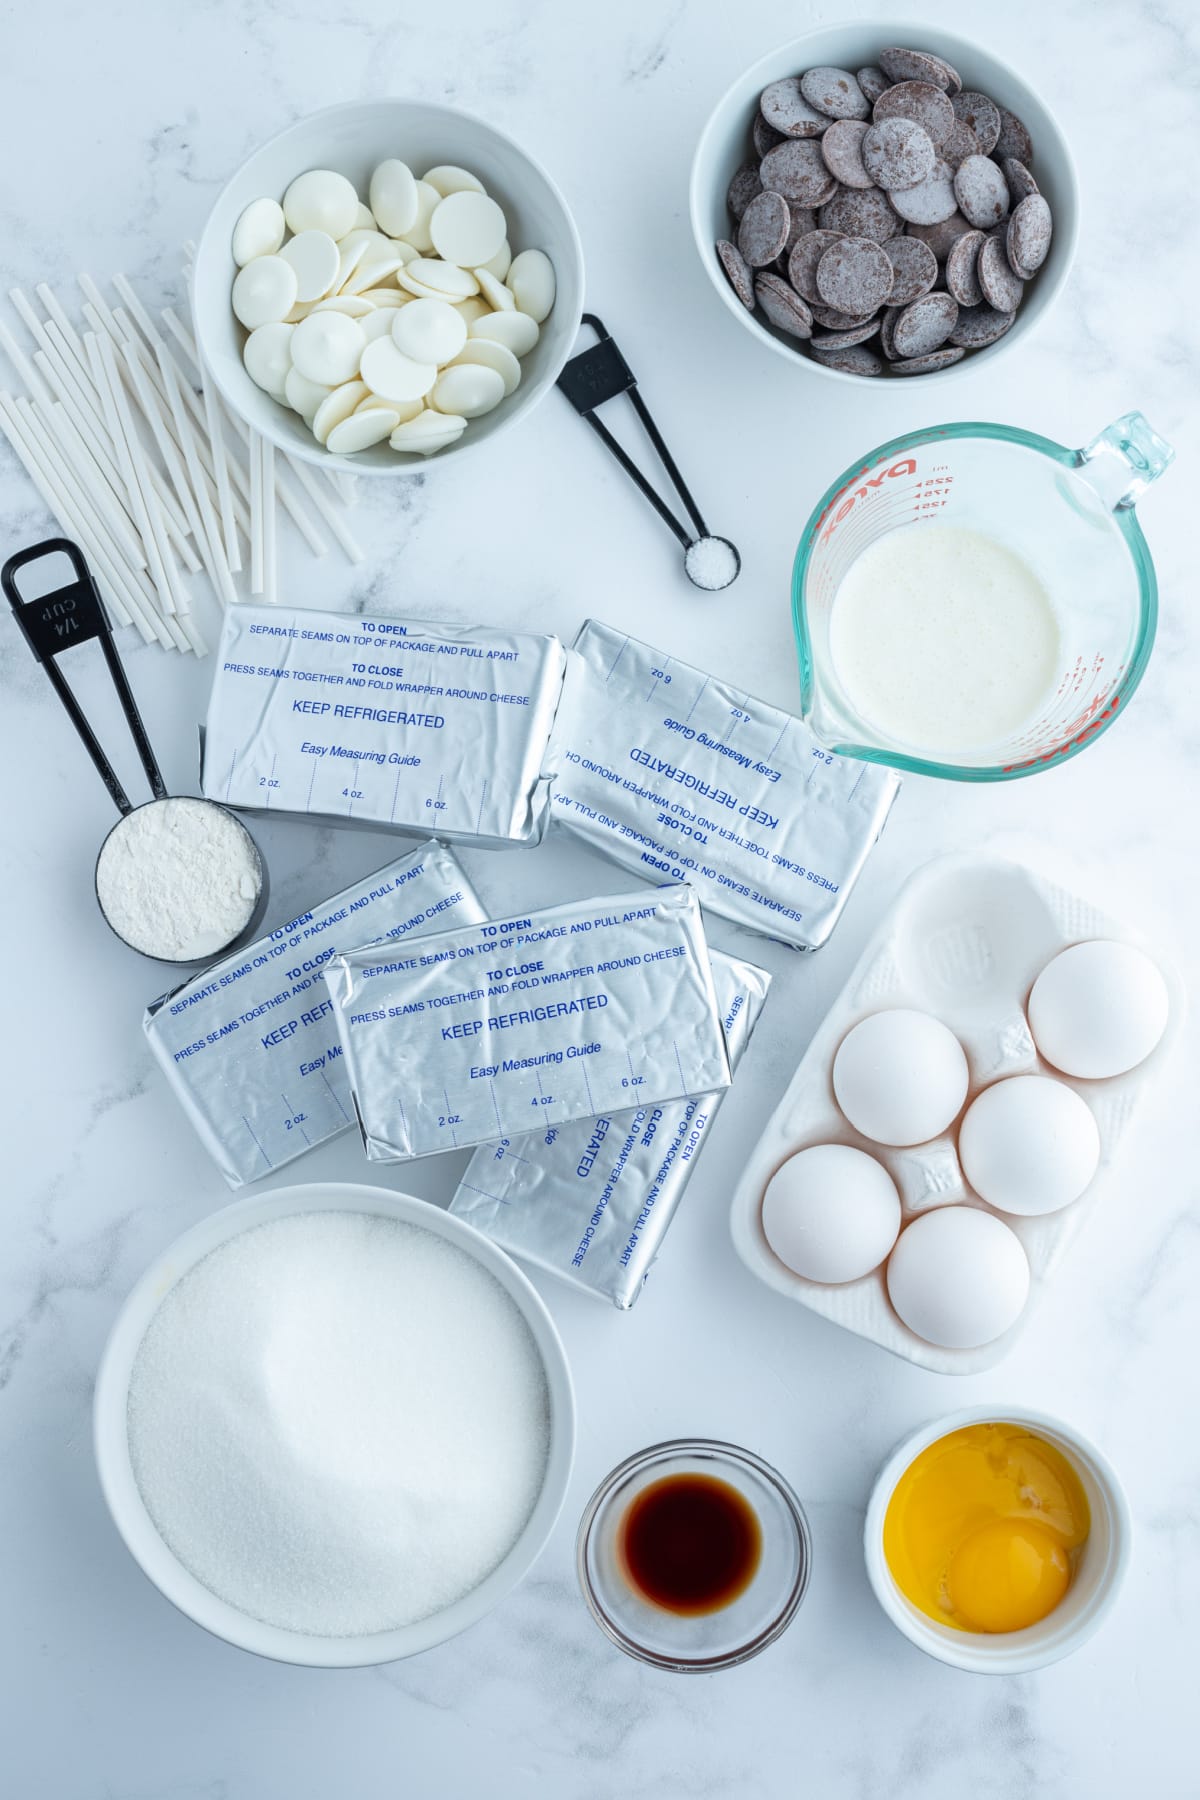
🛒 Ingredients Needed:
- cream cheese
- granulated white sugar
- all purpose flour
- salt
- eggs
- egg yolks
- vanilla extract
- heavy whipping cream
- white craft “cake pop” sticks
- semisweet flavored, milk chocolate flavored, white or brightly colored candy melts or chocolate disks
- sprinkles or nonpareils
 ✏️ How to make Cheesecake Pops:
*The complete, printable recipe is in the recipe card at the end of this post.
-
Position an oven rack in the middle of the oven and preheat to 325°F. Lightly grease a 10 inch cake pan or a 9 or 10 inch square pan (don’t use a springform pan.)
-
In a large bowl, with an electric mixer set at low speed, beat together the cream cheese, sugar, flour and salt until smooth. Add the whole eggs and the egg yolks, one at a time, beating well (but still at low speed) after each addition. Beat in the vanilla and cream.
-
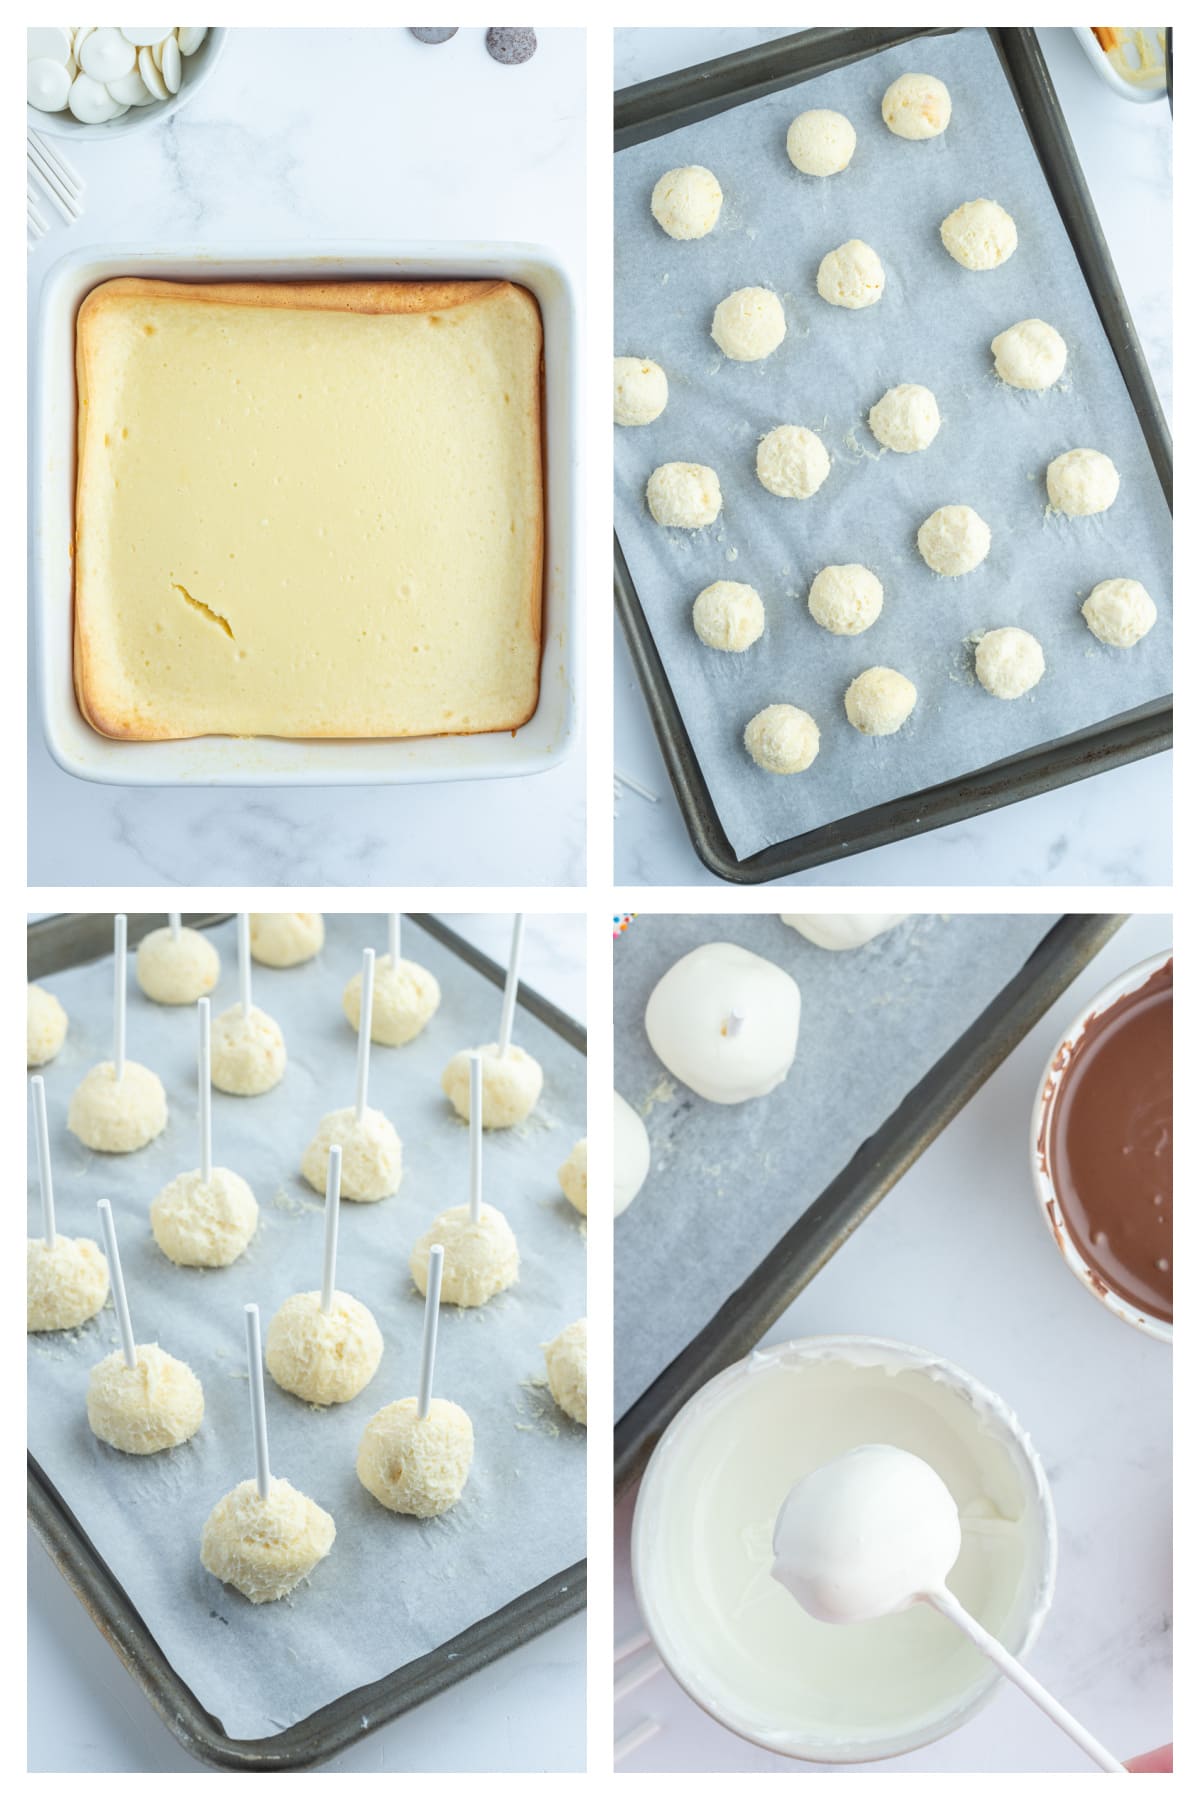
Pour the cheesecake batter into the cake pan and place in a larger roasting pan. Fill the roasting pan with boiling water until it reaches halfway up the sides of the cake pan. Bake until the cheesecake is firm and slightly golden on top, 35 to 40 minutes.
-
Remove cheesecake from the water bath and cool to room temperature. Cover the cheesecake with plastic wrap and refrigerate until very cold, at least 3 hours or up to overnight.
-
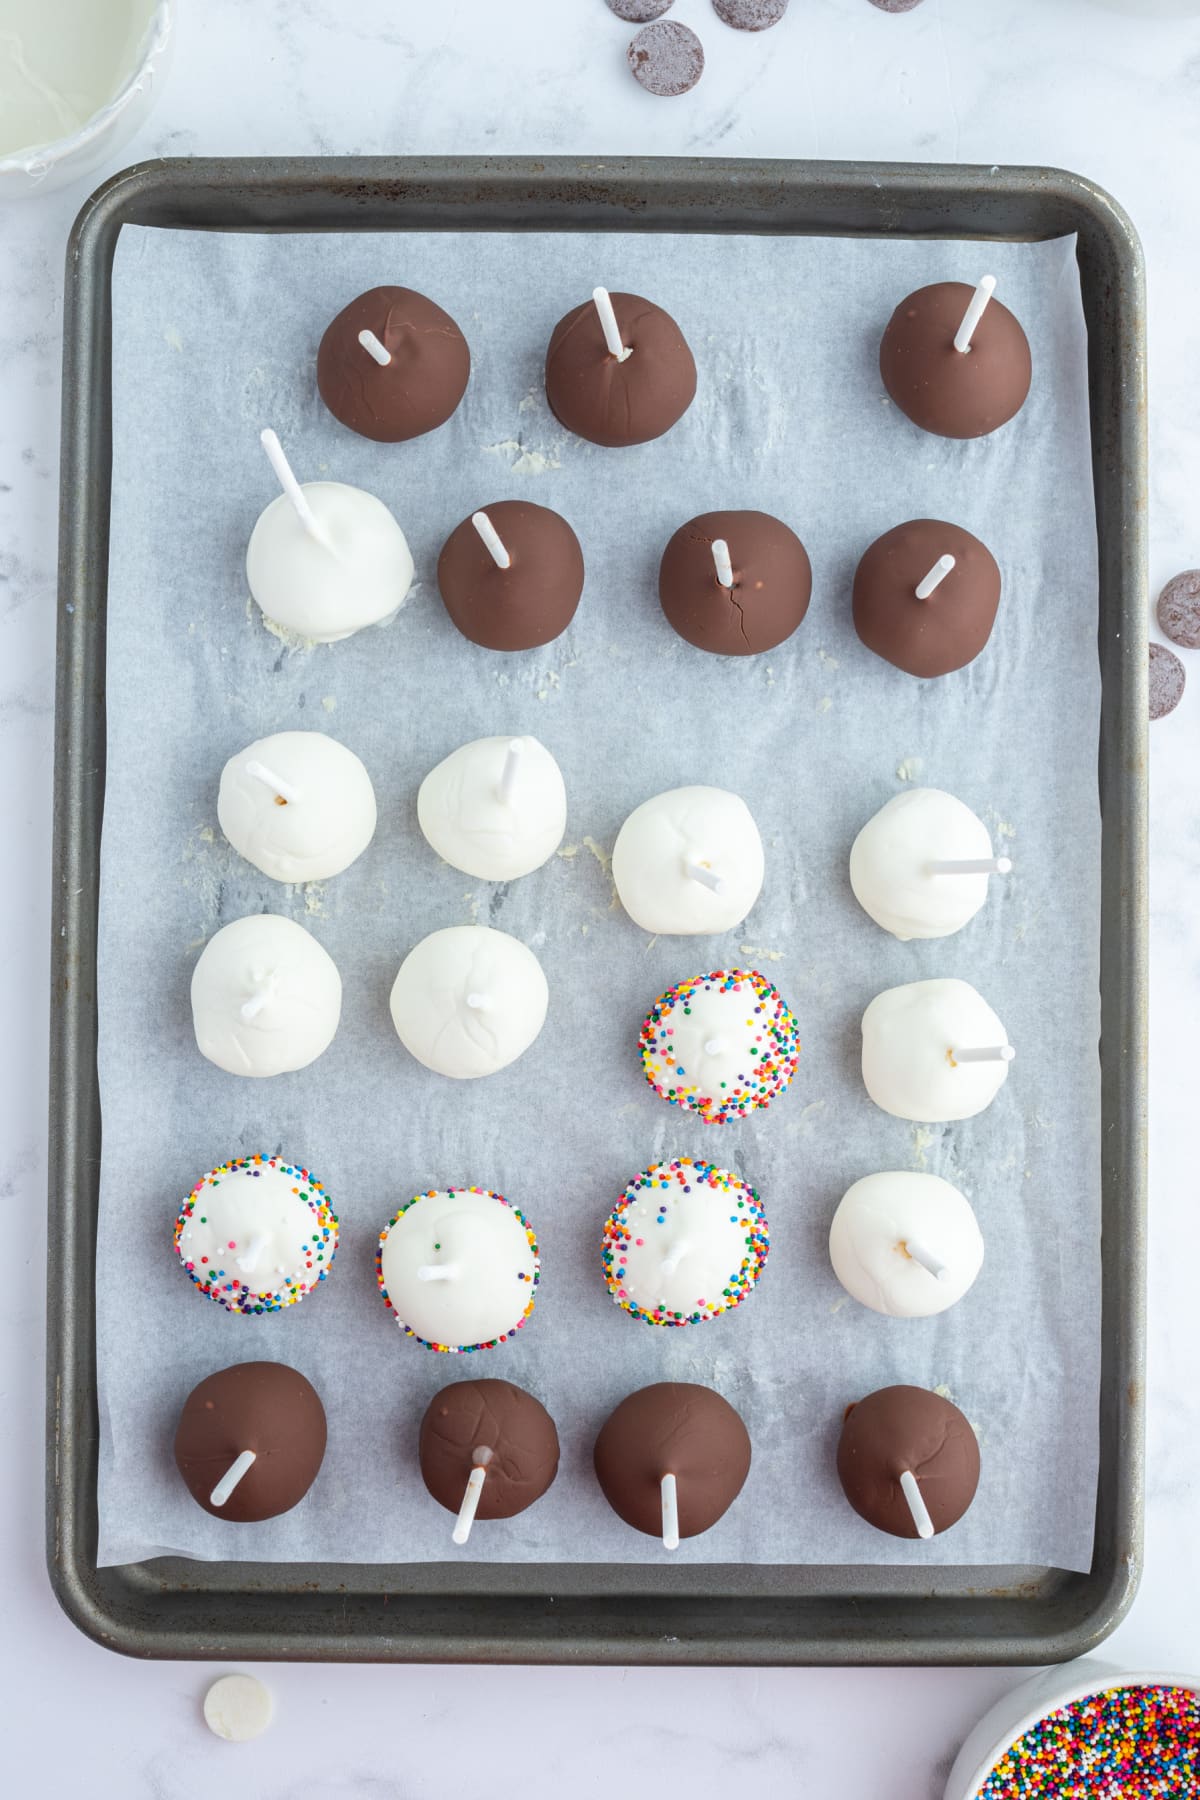
When cold and very firm, scoop the cheesecake into 2 ounce balls and place on a parchment paper-lined baking sheet. Carefully insert a lollipop stick into each cheesecake ball. Freeze the pops, uncovered, until very hard, at least 1 to 2 hours (overnight is best).
-
When the cheesecake pops are frozen and ready for dipping, prepare the chocolate coating. Place half of the chocolate wafers in a microwave safe bowl. Microwave on high for 30 seconds. Remove from the microwave and stir. If the chocolate is not completely melted, microwave for 30 second intervals, stirring until smooth.
-
Quickly dip a frozen cheesecake pop in the melted chocolate, swirling quickly to coat it completely. It’s best to dip it all the way up to the stick. Hold the pop over the melted chocolate and shake off any excess.
➡️ Tips and Substitutions:
- If you want a super quick and easy way to make cheesecake pops, buy an already made cheesecake at the store. Dump the whole cheesecake (crust and all) into a large mixing bowl, and use a hand mixer to mix it all up. Cover the bowl of mixed cheesecake with plastic wrap and refrigerate until very cold, at least 3 hours or up to overnight. Then you can continue the recipe on step 5.
- Chocolate chips or plain chopped chocolate will not work quite the same for dipping as the chocolate melting wafers. Stick with the wafers. The wafers (or candy melts/chocolate disks) can be found in baking supply or cake decorating stores and they’re available in dark, milk, and white chocolate varieties, as well as a rainbow of colors. It doesn’t need to be tempered and makes for easier dipping.
- I would suggest that you dip into the chocolate deep enough to allow some of the chocolate attach to the stick. That will alleviate any potential problems of cheesecake falling off the stick when people are eating them.
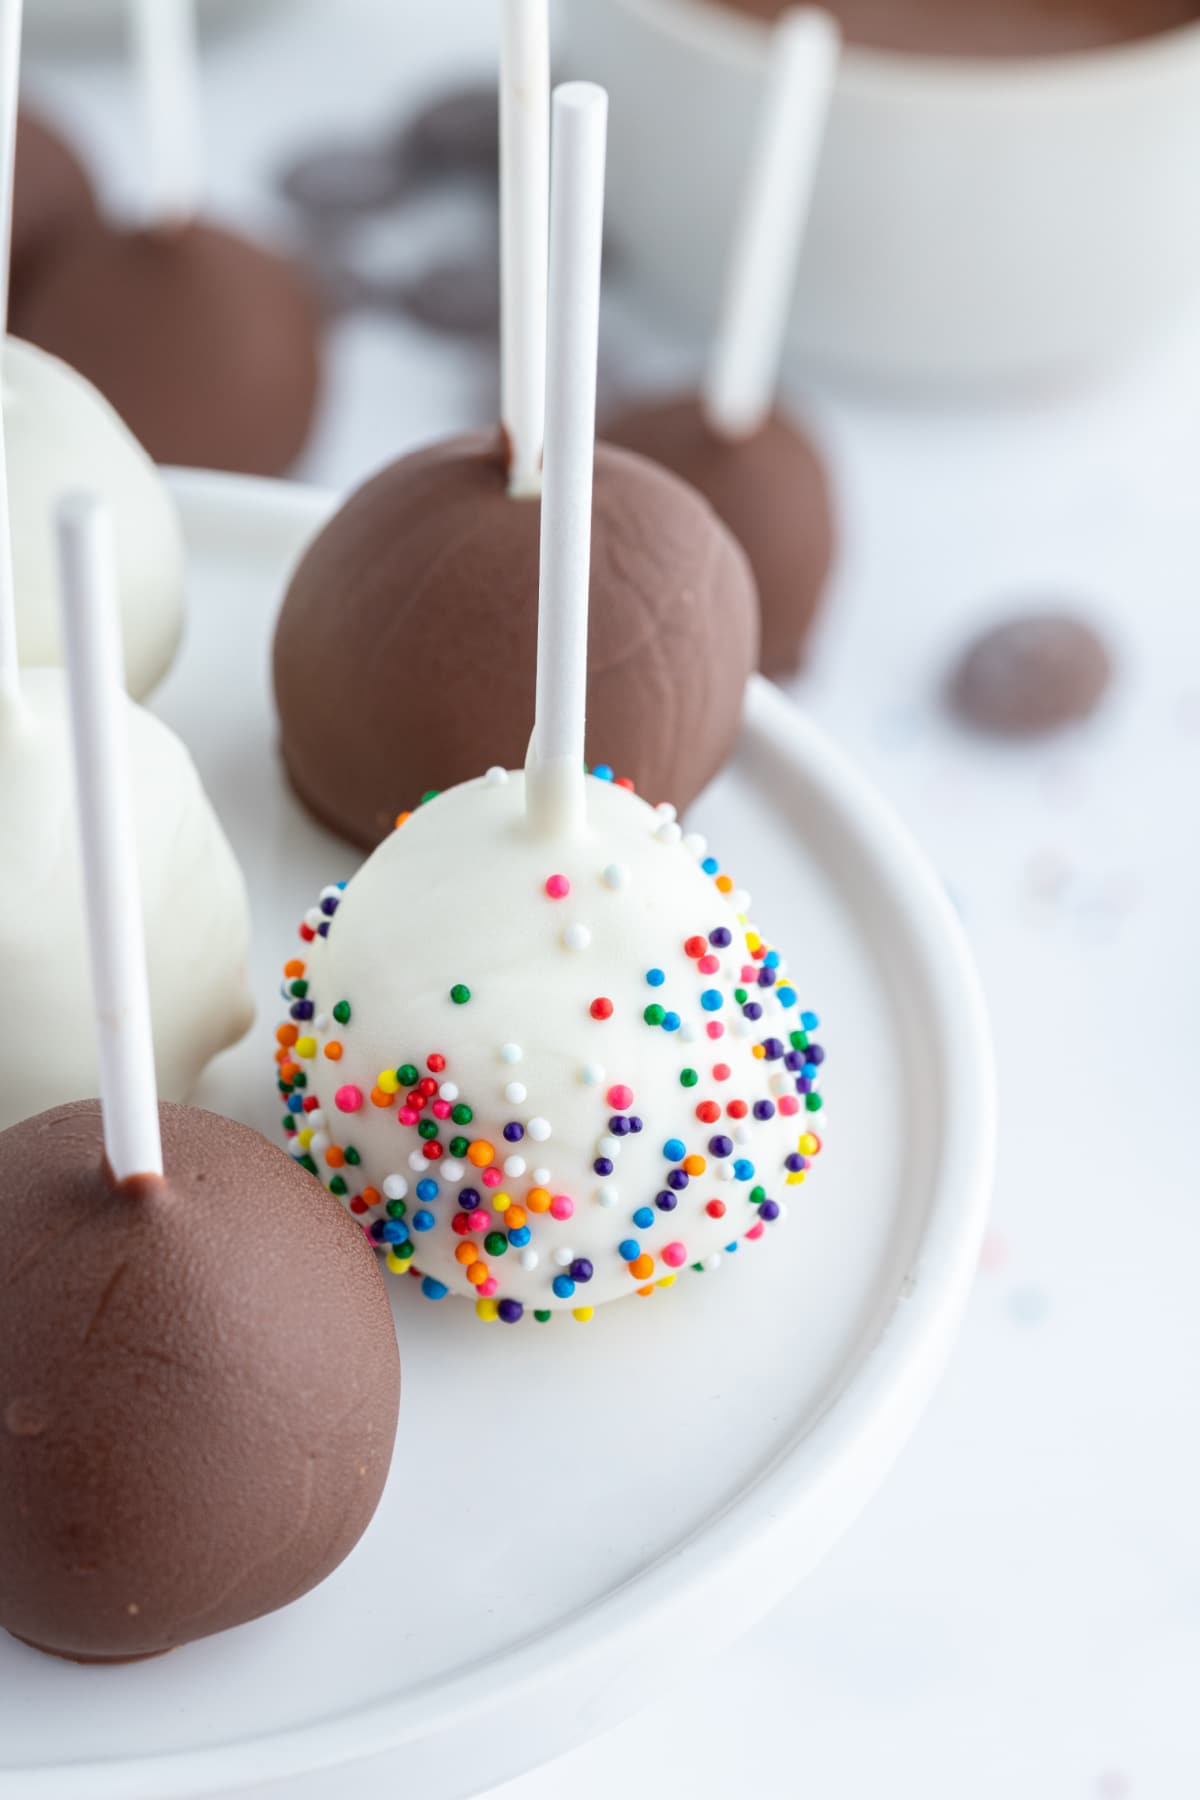
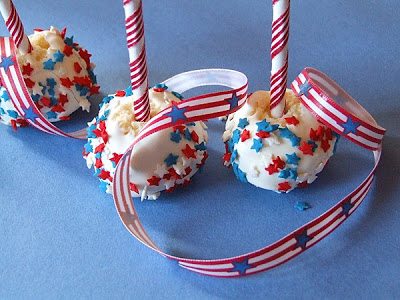
- To dress up the pops, you can roll them in crushed nuts, coarse sanding sugar, colorful jimmies, toffee bits, or mini chocolate chips, or drizzle them with a contrasting color of melted chocolate.
✔️ How to store cheesecake pops:
Store cheesecake pops in the refrigerator until ready to serve. Then you can set them out on a display table for serving. Treat them just as you’d treat a regular cheesecake. If they’re left at room temperature for too long, you might need a fork to eat them as they will tend to soften up some.
❓Can you freeze these pops?
I have kept mine in the freezer for several days- they are quite good when eaten frozen solid! I wouldn’t freeze them long-term though. The chocolate covering might end up cracking.
❤️ What I Love About This Recipe:
- They are darn cute!
- I love that you can make them themed/colored and decorated for any holiday.
- I made these for a baby shower once and dipped them in pastel colors. Then I tied a cute ribbon around the stick. Everyone at the shower loved them!
Desserts Dipped in Chocolate:
- Chocolate Peanut Butter Balls
- Chocolate Chip Cookie Dough Truffles
- Red Velvet Cake Pops
- Peppermint Oreo Truffles
- Orange Cake Truffles
Cheesecake Pops
Recipe Details
Ingredients
- Five 8-ounce packages cream cheese, at room temperature
- 2 cups granulated white sugar
- ¼ cup all purpose flour
- ¼ teaspoon salt
- 5 large eggs
- 2 large egg yolks
- 2 teaspoons pure vanilla extract
- ¼ cup heavy whipping cream
- boiling water, as needed
- 30 to 40 (8-inch) white cake pop craft sticks
- 1 pound candy melts or chocolate disks (white, milk, dark chocolate- as desired)
Instructions
- Position an oven rack in the middle of the oven and preheat to 325°F. Lightly grease a 10-inch cake pan or a 9 or 10-inch square pan (don't use a springform pan.)
- In a large bowl, with an electric mixer set at low speed, beat together the cream cheese, sugar, flour and salt until smooth. Add the whole eggs and the egg yolks, one at a time, beating well (but still at low speed) after each addition. Beat in the vanilla and cream.
- Pour the cheesecake batter into the cake pan and place in a larger roasting pan. Fill the roasting pan with boiling water until it reaches halfway up the sides of the cake pan. Bake until the cheesecake is firm and slightly golden on top, 35 to 40 minutes.
- Remove the cheesecake from the water bath and cool to room temperature. Cover the cheesecake with plastic wrap and refrigerate until very cold, at least 3 hours or up to overnight.
- When cold and very firm, use a 2-tablespoon scoop to scoop the cheesecake into balls and place them on a parchment paper-lined baking sheet. Carefully insert a lollipop stick into each cheesecake ball. Freeze the pops, uncovered, until very hard, at least 1 to 2 hours (overnight is best).
- When the cheesecake pops are frozen and ready for dipping, prepare the chocolate coating. Place half of the chocolate wafers in a microwave safe bowl. Microwave on high for 30 seconds. Remove from the microwave and stir. If the chocolate is not completely melted, microwave for 30 second intervals, stirring until smooth.
- Quickly dip a frozen cheesecake pop in the melted chocolate, swirling quickly to coat it completely. It's best to dip it all the way up to the stick. Hold the pop over the melted chocolate and shake off any excess. Place the pop on a clean parchment paper-lined baking sheet to set. Repeat with remaining pops, melting more chocolate wafers as needed.
- Refrigerate (or freeze) pops for up to 24 hours, until ready to serve.
Notes
- We've actually kept these in the freezer for a few days with success. They still taste delicious.
- Candy melts or chocolate disks can be found in baking supply or cake decorating stores and they're available in dark, milk, and white chocolate varieties, as well as a rainbow of colors. It doesn't need to be tempered and makes for easier dipping.
- I would suggest that you dip into the chocolate deep enough to allow some of the chocolate attach to the stick. That will alleviate any potential problems of cheesecake falling off the stick when people are eating them.
- To dress up the pops, you can roll them in crushed nuts, coarse sanding sugar, colorful jimmies, toffee bits, or mini chocolate chips, or drizzle them with a contrasting color of melted chocolate.
- If you want a super quick and easy way to make cheesecake pops, buy an already made cheesecake at the store. Dump the whole cheesecake (crust and all) into a large mixing bowl, and use a hand mixer to mix it all up. Cover the bowl of mixed cheesecake with plastic wrap and refrigerate until very cold, at least 3 hours or up to overnight. Then you can continue the recipe on step 5.
Nutrition
 ✏️ How to make Cheesecake Pops:


I super suck at baking, but I am trying these tonight for my daughter! Excited to have found this recipe!
How do these pops hold up when they’re not in the frig or freezer? For example, if I were at a bbq/get together with family and they were out on the counter…
Thanks so much 🙂
Since it’s cheesecake, you need to treat them as you would a cheesecake. They should be served cold, but sitting out on the counter for a long time on a warm day wouldn’t be so great.