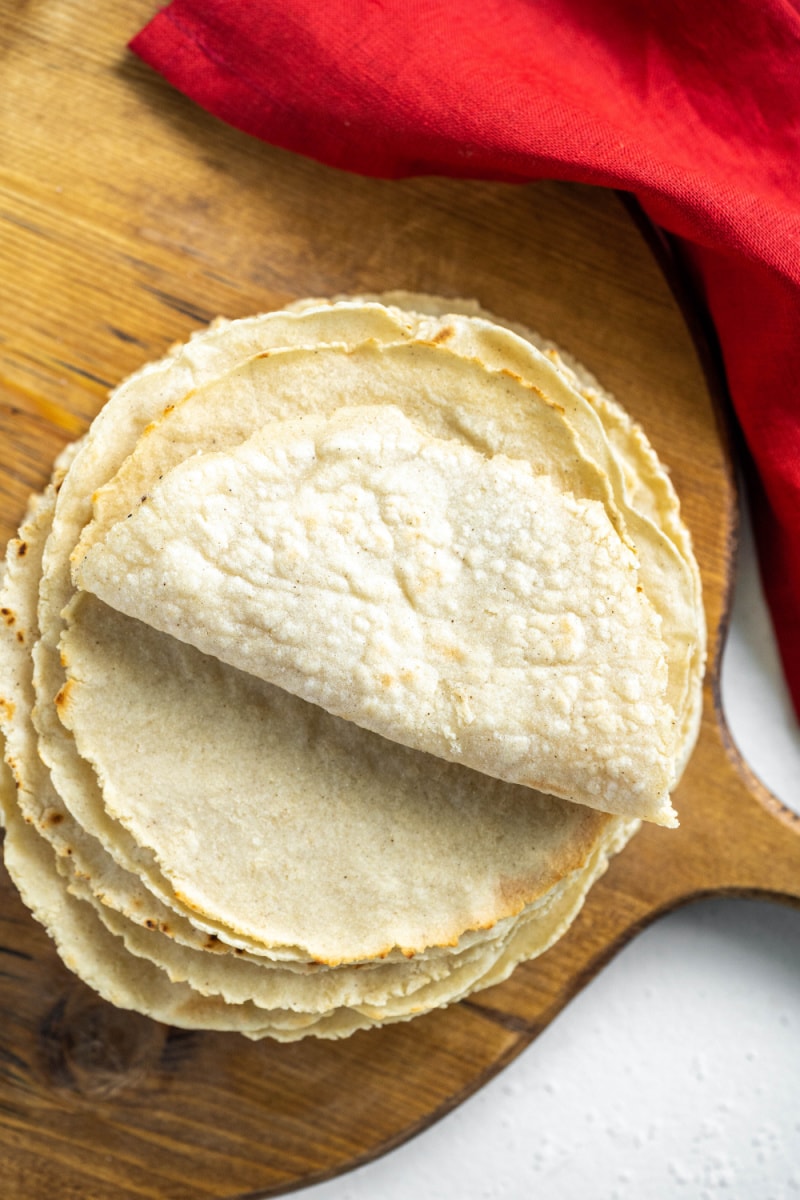
Once you’ve made Homemade Corn Tortillas, you won’t want to buy them from the store ever again!
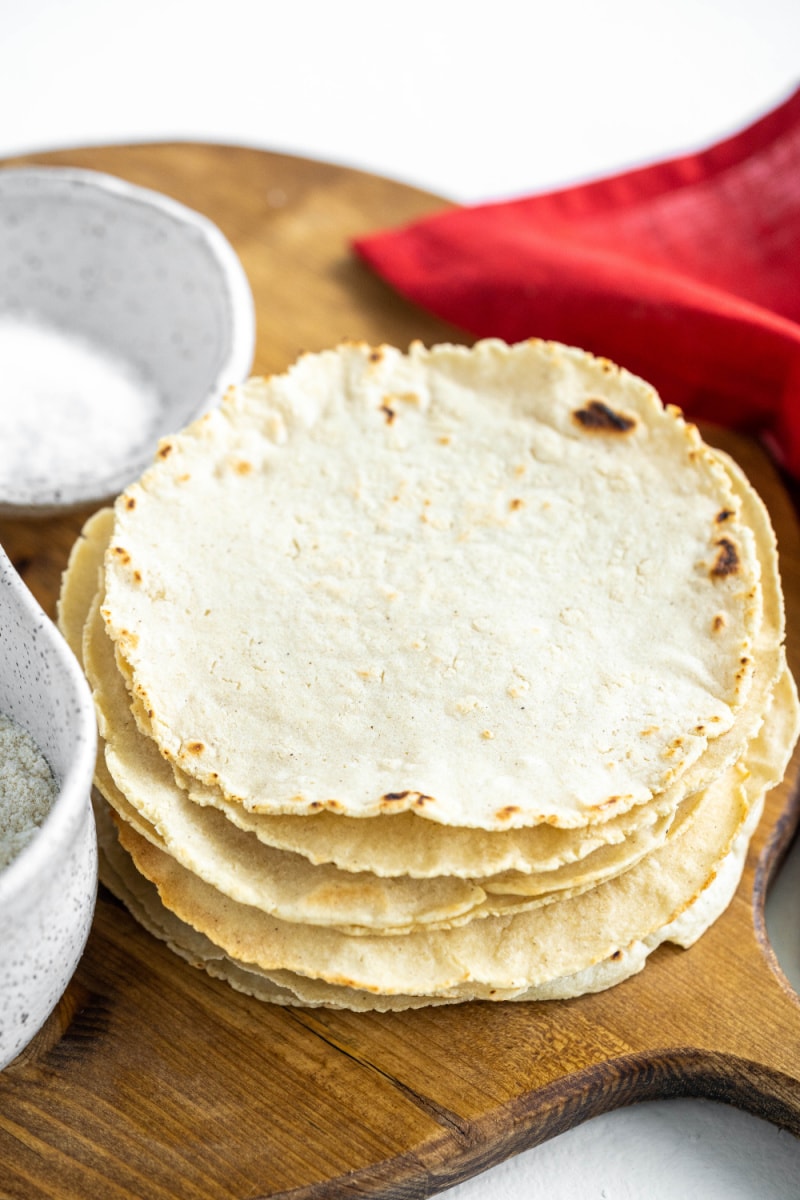
Just like everything else, there is nothing like homemade. The corn tortillas that you buy in the store have been packaged and have been sitting in a warehouse and on the shelf for quite some time. They’re a bit dry and not too flavorful. Try making homemade corn tortillas, and you’ll see what I mean! They’re so much better. I feel the same way about homemade flour tortillas. Delicious!
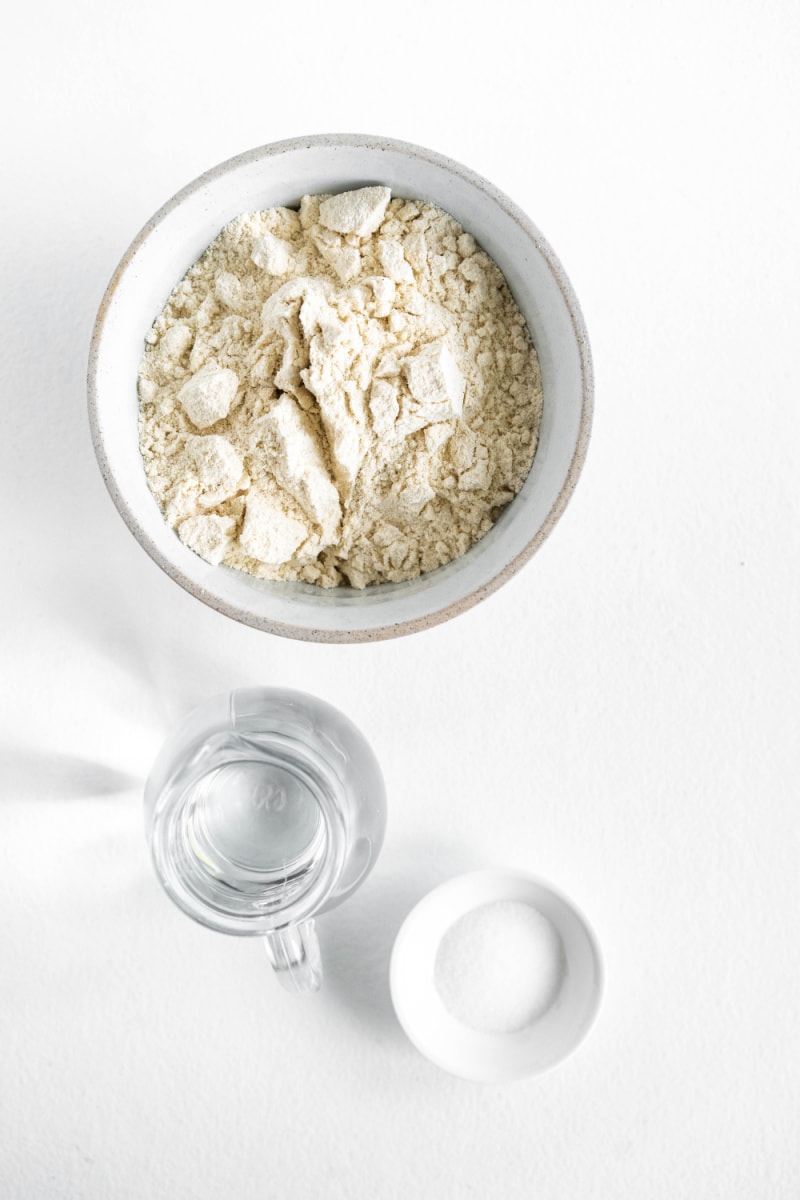
Ingredients needed:
- masa harina (ground corn flour- look for it in the baking aisle near the flour)
- salt
- hot water
How to make Homemade Corn Tortillas:
The complete, printable recipe is at the end of this post.
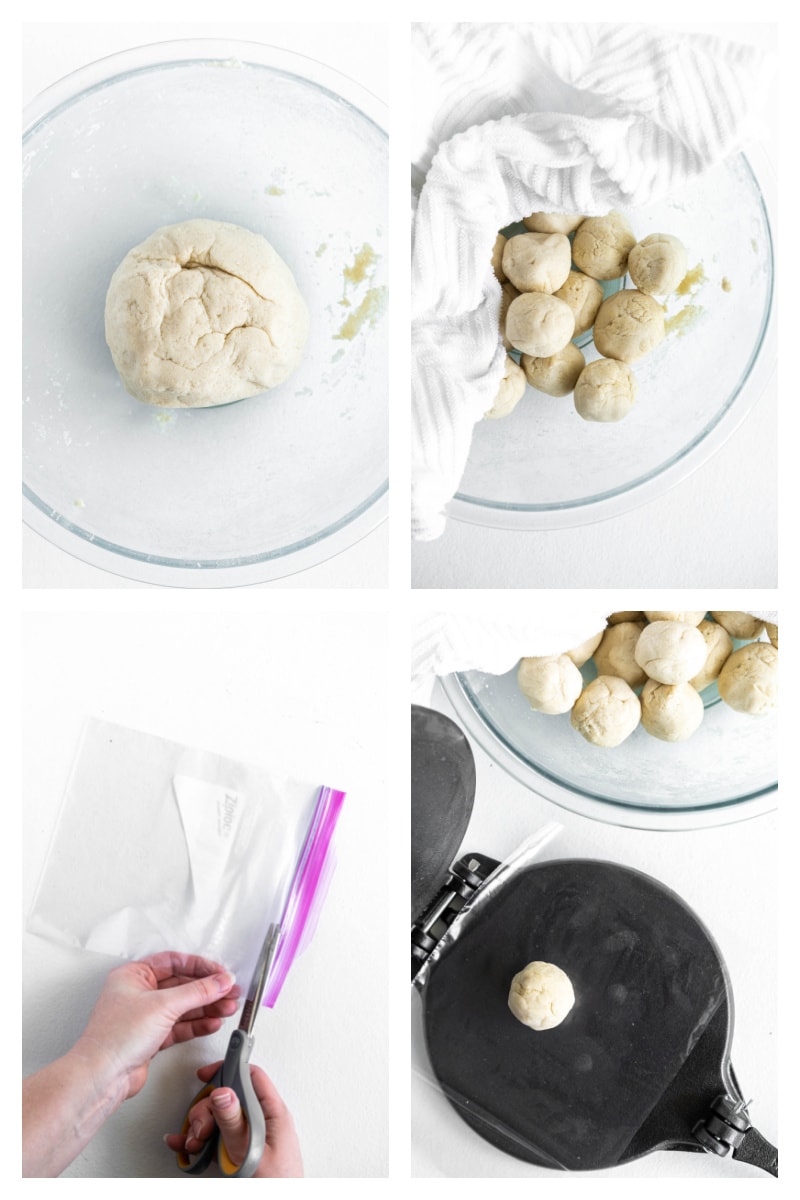
Combine the three ingredients (adding more water or masa harina, as needed) to knead into a ball of dough that has a Play-Dough consistency. Let the dough rest for 10 minutes.
Divide the dough into 16 equal pieces, and roll each piece into a ball. Place all of the dough balls into a bowl and cover the bowl with a damp towel so they don’t dry out during the process of making the corn tortillas.
Use a tortilla press or a rolling pin to roll the dough into a circle. If using a press, cut open a thick zipper baggie to use as a liner for pressing. Place the ball of dough in between two pieces of the plastic (or you can also use parchment paper) and press. Alternately, if you roll using a rolling pin, roll between two pieces of parchment paper.
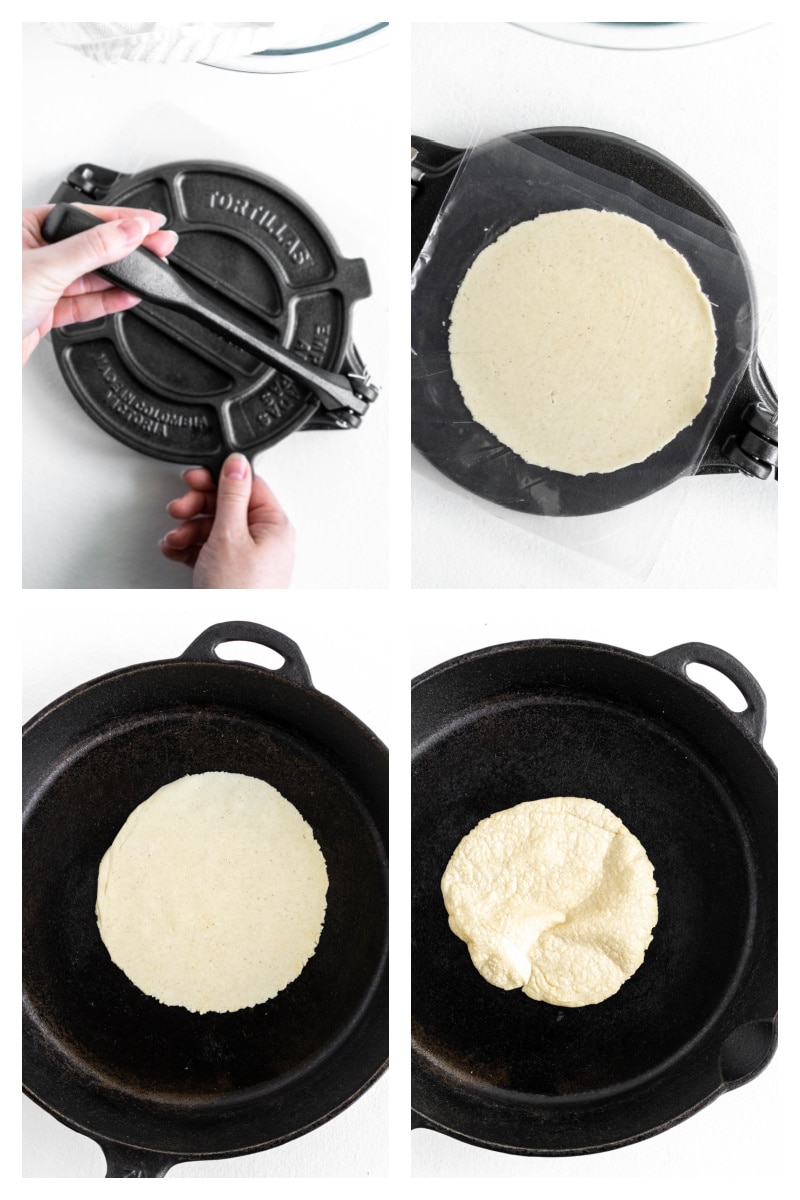
The circle of dough should peel off the plastic or parchment paper easily. Preheat a nonstick or cast iron skillet. Cook the tortilla in the skillet for 50 to 90 seconds on each side. When finished, the tortilla will have more of a bready look than a doughy look. The tortillas may puff up while cooking, but they’ll deflate when you remove them from the pan.
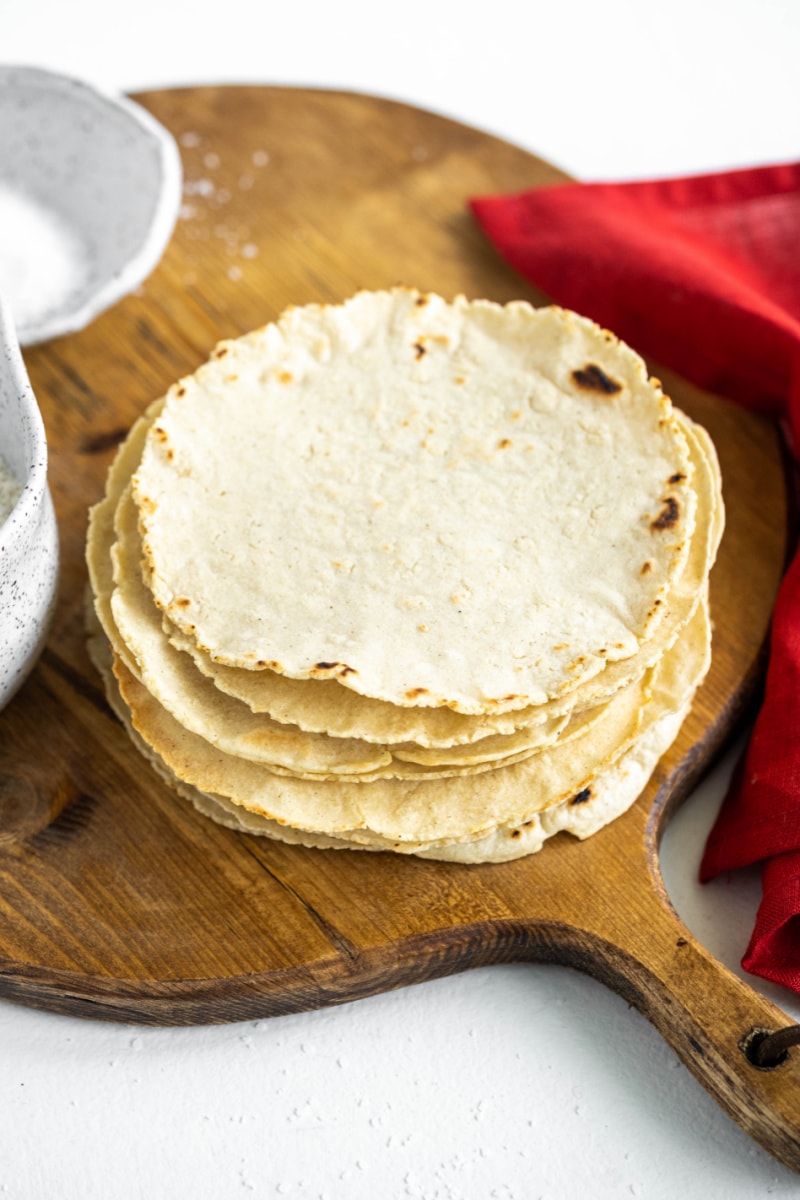
Wrap warm homemade corn tortillas in a towel (or store them in a tortilla warmer) to keep them warm.
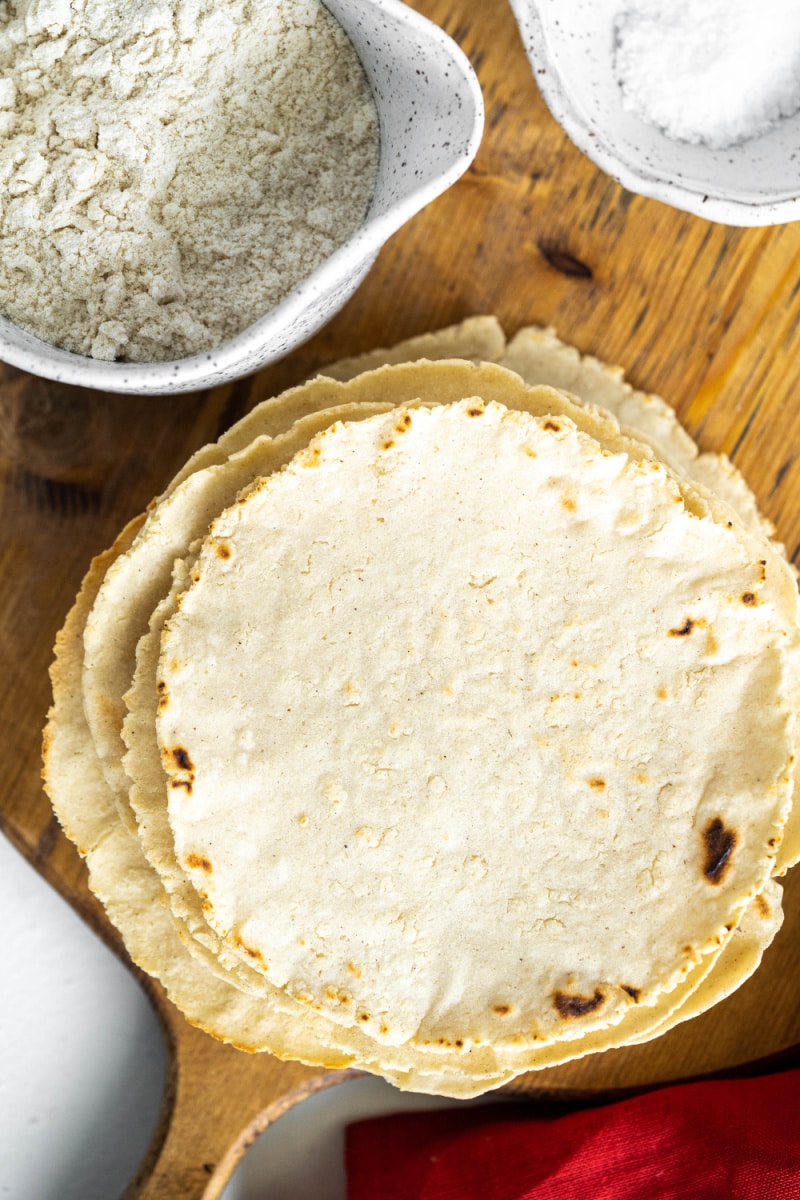
Use them for all of your favorite ways to use up corn tortillas, but especially for tacos! I also recommend rubbing them with a little butter and drizzling with honey for a delicious snack.
Homemade Corn Tortillas will stay fresh for up to three days when wrapped and refrigerated. Enjoy!
Here are a few recipes to make using corn tortillas:
- Easy Beef Enchiladas
- Beef and Bean Enchilada Casserole
- Easy Tortilla Chicken Pie
- Slow Cooker Tex Mex Chicken and Beans
- How to make Tostadas
Homemade Corn Tortillas
Recipe Details
Ingredients
- 2 cups masa harina (plus more, as needed)
- 1 teaspoon salt
- 1½ to 2 cups hot water (plus more, as needed)
Instructions
- In a large bowl, whisk together the masa harina and salt. Add 1½ cups hot water and stir with a wooden spoon until it forms dough, adding more hot water as needed. Knead the dough for a minute or so to help it come together. It should have the consistency of Play-Doh; it shouldn’t be too wet and stick to your hands and it shouldn’t be too dry and crumbly. Add additional masa harina or hot water to achieve the right texture.
- Shape the dough into a large ball and leave it in the bowl. Cover the bowl with a damp kitchen towel and let the dough rest for 10 minutes.
- Divide the dough into 16 equal pieces and roll each into a ball. Place the balls back into the bowl and cover them with a damp kitchen towel. Leave them there so they don’t dry out during the pressing and cooking process.
- Remove 1 dough ball and roll it out to a circle about 5 to 6 inches in diameter. You can use a tortilla press or roll it out with a rolling pin. (See Recipe Notes below.)
- Preheat a nonstick skillet over medium heat. Once hot, place a tortilla in it and cook for about 50 to 90 seconds per side. It’s done when the dough has more of a bready than doughy look; you can let it get char marks if you like. Adjust the heat down if the pan gets too hot. The tortillas might bubble up when cooking, which is fine; they will deflate after you remove them from the heat. Transfer the cooked tortilla to a bowl lined with a clean kitchen towel, wrapping them in the towel as you cook them.
- Continue this way until all the tortillas are cooked. Once you get the hang of it, you can get a couple pans going to cook more than one tortilla at a time. Store the tortillas wrapped in the fridge for up to 3 days.
Notes
- If you use a tortilla press, make sure to line both sides with plastic wrap or parchment paper before pressing. Because zip-top plastic bags are thicker, they work very well. To use a zip-top plastic bag, cut off the zipper side, cut open the 2 remaining sides, and lay it onto the tortilla press; place a ball of dough on it, fold the plastic bag over to cover the dough ball, and press it. If you don’t have a tortilla press, you can roll the dough out between plastic or parchment paper using a rolling pin.The tortillas should easily peel away from the plastic or parchment.
- Instead of a nonstick skillet, you can also use a cast-iron skillet to cook these; however, cook them over medium-low heat so that the pan doesn’t get too hot and they burn before cooking through. They take a little longer to cook using a cast-iron skillet.
