
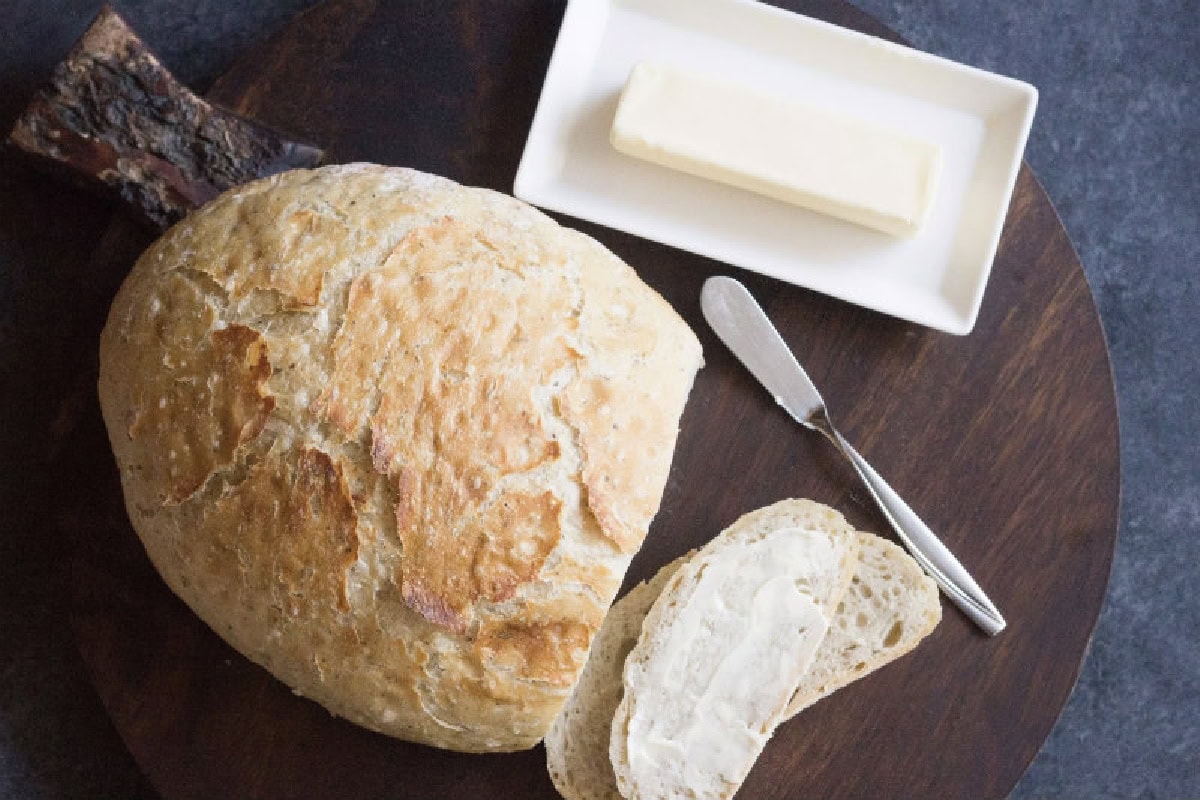
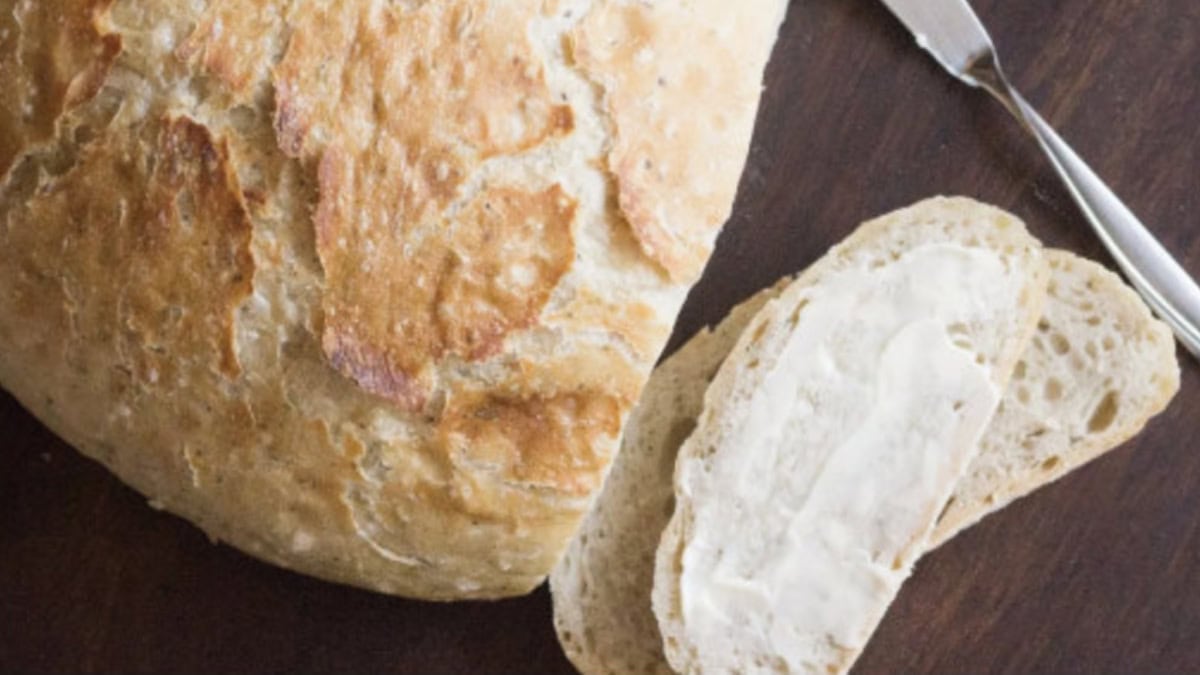
This easy Dutch Oven Bread has a beautifully golden, crusty exterior and a soft, chewy center. Made with garlic and Italian-inspired herbs, this no-knead bread is full of flavor and perfect for dipping into olive oil, serving alongside pasta, or enjoying warm with a little butter.
The best part? You don’t need a bread machine, a stand mixer, or any special kneading skills to make it. Just mix the dough, let it rise overnight, and bake it in a hot Dutch oven for a gorgeous loaf of homemade bread.
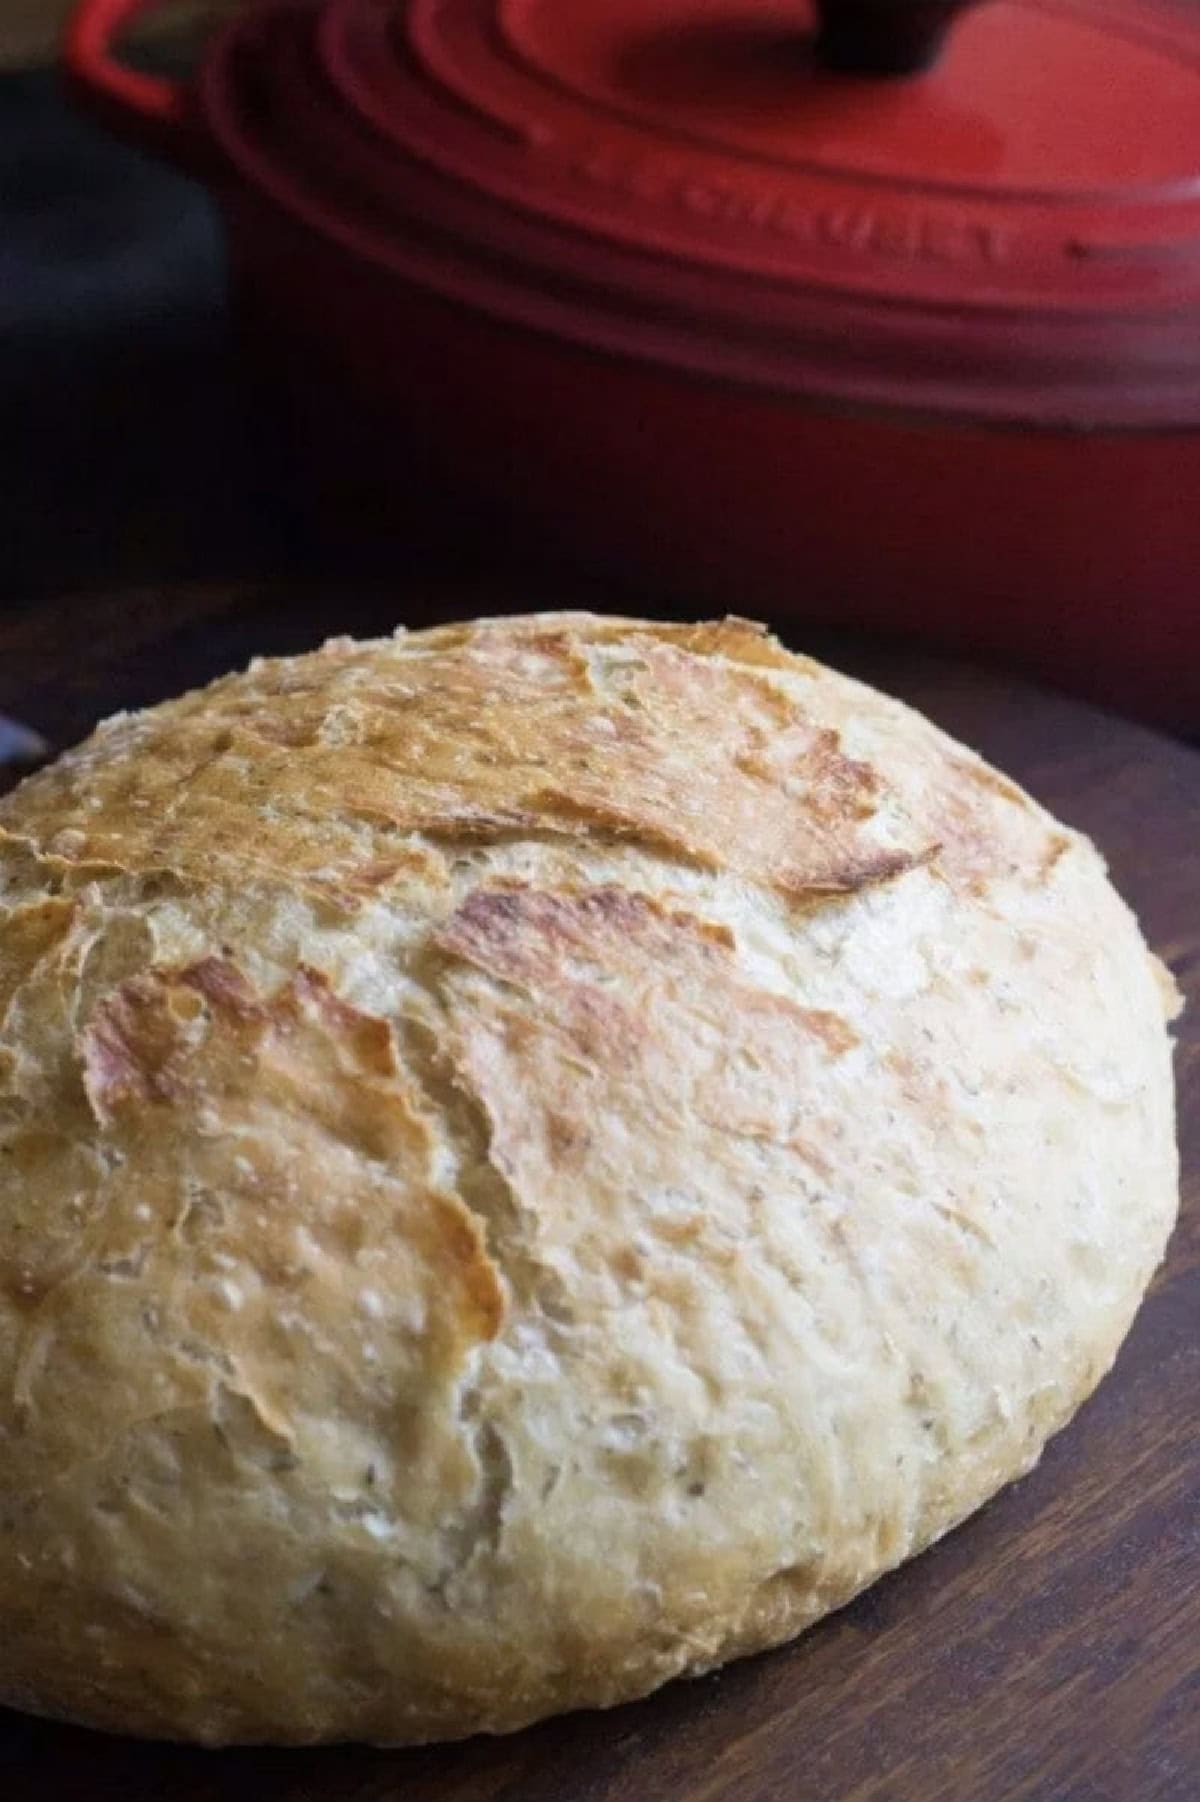
Easy No-Knead Dutch Oven Bread
There’s something so satisfying about pulling a freshly baked loaf of bread out of the oven. The crust is crisp, the inside is wonderfully soft, and your kitchen smells like a bakery!
This is one of those homemade bread recipes I come back to again and again because it requires so little hands-on work.
If you’ve been intimidated by baking bread with yeast, this is a great recipe to try. There’s no kneading involved, and the long rising time does most of the work for you.
You’ll need to plan ahead, but the actual preparation couldn’t be much simpler.
Why You’ll Love This Recipe
- No kneading required. Just mix everything together and let the dough rest.
- Minimal hands-on preparation. The dough does most of its work while you’re doing other things.
- Crispy, golden crust. Baking in a covered Dutch oven helps create a beautiful artisan-style loaf.
- Soft, chewy interior. Perfect for tearing apart and dipping into sauces.
- Delicious garlic and herb flavor. A flavorful twist on traditional no-knead bread.
- Great for entertaining. Serve it with pasta, soup, stew, or a simple olive oil dipping sauce.
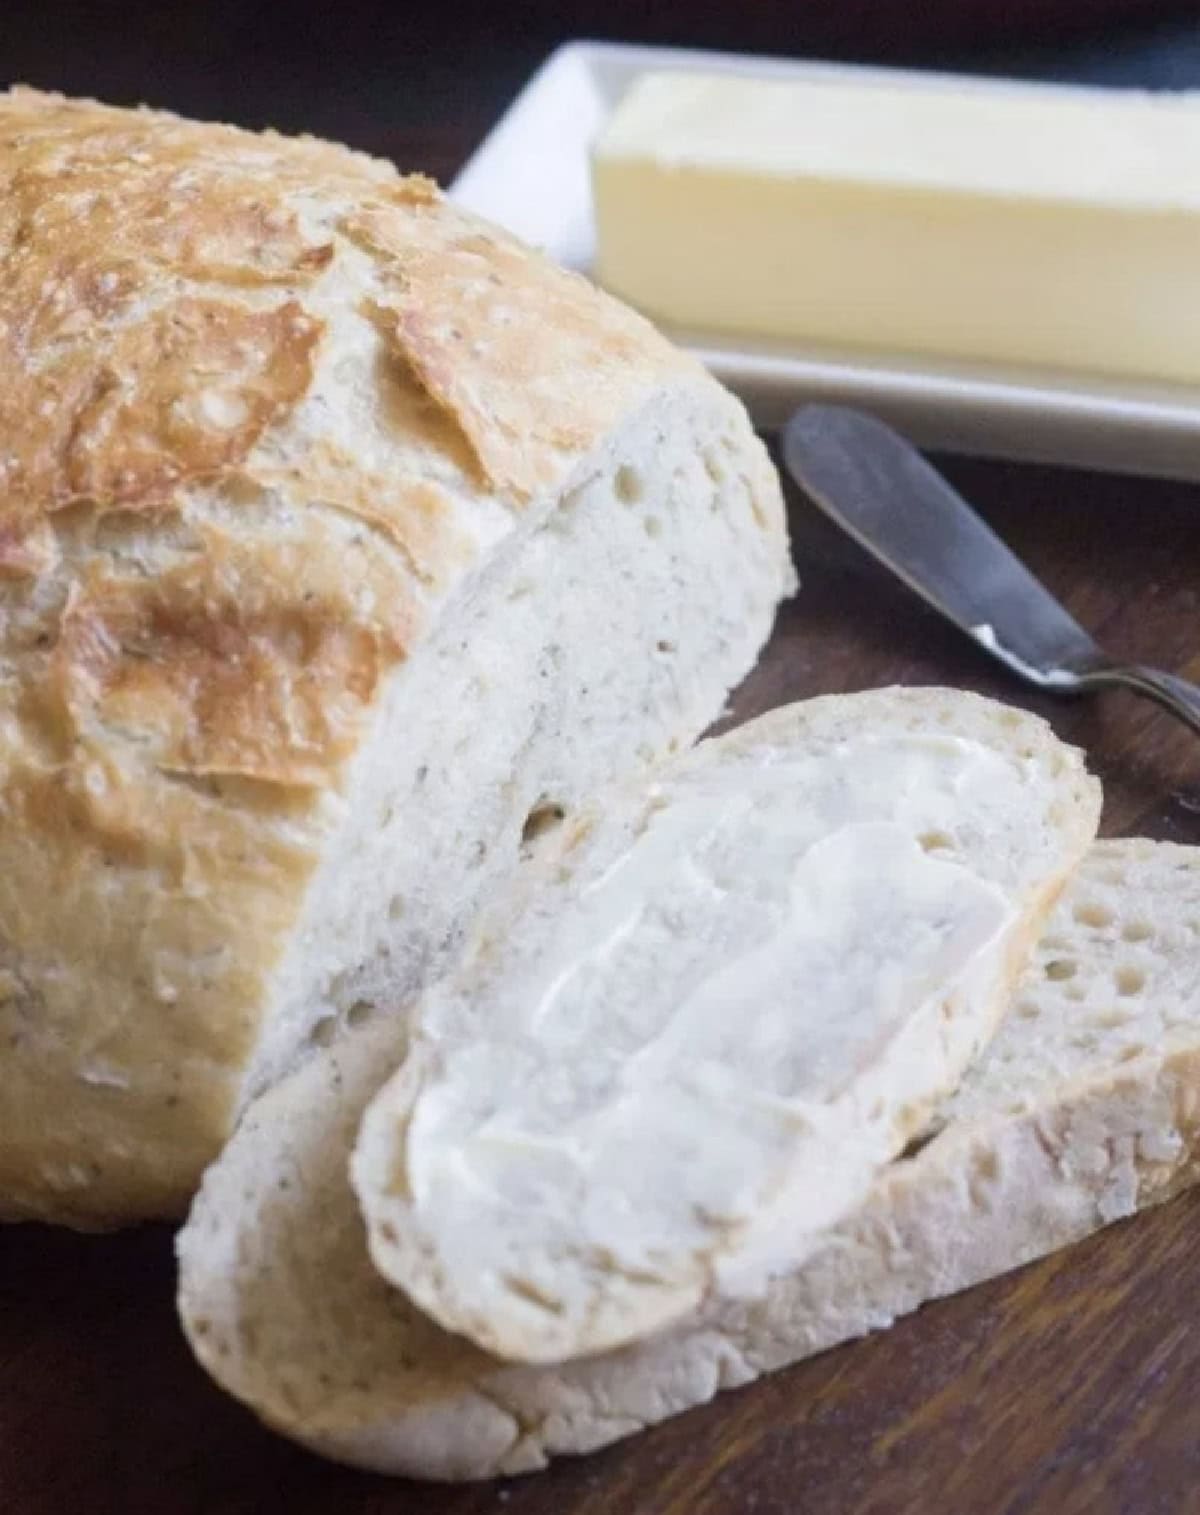
How to Make Dutch Oven Bread
Making homemade Dutch oven bread is surprisingly simple. The key is giving the dough plenty of time to rise and allowing the Dutch oven to get nice and hot before baking.
Step 1: Mix the Dough
Combine the ingredients in a large bowl according to the recipe instructions. Stir until everything comes together into a shaggy, sticky dough.
There’s no need to knead it or work it into a smooth ball.
Step 2: Let the Dough Rise
Cover the bowl and let the dough rise at room temperature for at least 12 hours, or as directed in the recipe.
I usually mix the dough the night before I want to bake it.
The dough should look noticeably expanded and bubbly when it’s ready. Depending on the temperature of your kitchen, it may take longer to rise.
Step 3: Preheat the Dutch Oven
Place your Dutch oven and its oven-safe lid into the oven and preheat according to the recipe directions.
Preheating the pot helps the dough begin baking immediately and encourages a beautifully crisp crust.
Step 4: Shape the Dough
Carefully turn the dough out onto a lightly floured surface and gently shape it into a round or oval loaf.
You don’t need to knead the dough at this point. Just bring it together enough to give it some shape.
Step 5: Bake the Bread
Carefully transfer the dough into the hot Dutch oven, cover with the lid, and bake as directed.
Toward the end of baking, remove the lid to allow the crust to become beautifully golden brown.
Let the bread cool on a wire rack before slicing.
And that’s it! Homemade, bakery-style bread without all the usual work.
Tips for Making the Best Dutch Oven Bread
- Give the dough enough time to rise. The long resting period is what makes this no-knead method work. Look for a dough that’s expanded and bubbly rather than relying only on the clock.
- Use fresh yeast. Yeast that’s expired or improperly stored may not work as expected.
- Don’t add too much extra flour. No-knead bread dough is supposed to be sticky. Adding too much flour can make the finished loaf dense.
- Preheat your Dutch oven. A thoroughly heated pot helps create the crisp crust that makes Dutch oven bread so delicious.
- Be careful when handling the hot pot. Both the Dutch oven and its lid will be extremely hot. Use sturdy oven mitts and work carefully when transferring the dough.
- Don’t skip the uncovered baking time. Removing the lid toward the end allows the crust to brown.
- Let the bread cool before slicing. It’s tempting to cut into a warm loaf immediately, but allowing it to cool helps the inside finish setting.
What Size Dutch Oven Should You Use?
I use a 3.5-quart oval Le Creuset Dutch oven for this recipe, and it works beautifully.
One thing I’ve learned from experimenting with no-knead bread recipes is that the size of your pot matters.
I’ve tried reducing the amount of dough to make a smaller loaf, but in my Dutch oven, the smaller quantity tends to spread out rather than rise into a nicely shaped loaf.
That’s why I prefer making the full recipe.
A Dutch oven that’s too large for the amount of dough can produce a flatter loaf, although the dough’s hydration, strength, and shaping also affect how much it spreads.
You can use another heavy, oven-safe covered pot, provided it’s suitable for the recipe’s baking temperature. Always check the manufacturer’s temperature limits for the pot, lid, and knob.
Frequently Asked Questions
Do you have to knead Dutch oven bread?
No! This is a no-knead bread recipe. The long resting time allows the dough to develop structure without traditional kneading.
Why do you bake bread in a Dutch oven?
A covered Dutch oven traps moisture released from the dough during baking. This creates a steamy environment that helps the bread expand and develop a beautiful crust. Removing the lid toward the end allows the crust to brown and crisp.
Can I let the dough rise for 24 hours?
I’ve occasionally left this dough on the counter for up to 24 hours with good results. However, the ideal rising time depends on your room temperature and the amount of yeast in the recipe.
In a warm kitchen, an extended rise can cause the dough to overproof. Follow the recipe’s recommended rising time and watch for signs that the dough is ready.
Why is my Dutch oven bread flat?
A flat loaf can result from overproofed dough, dough that’s too wet or weak to hold its shape, or a pot that’s too large for the quantity of dough.
For the best results, follow the recipe measurements, allow the dough to rise appropriately, and use a Dutch oven that’s a good fit for the loaf.
Can I make Dutch oven bread without a Dutch oven?
A heavy, oven-safe pot with a well-fitting lid may work as an alternative. It needs to withstand the baking temperature and provide enough room for the bread to expand.
How do I store homemade Dutch oven bread?
Allow the bread to cool completely, then store it in a bread bag or suitable container at room temperature for about 2 to 3 days.
For longer storage, slice the bread and freeze it in an airtight freezer bag for up to 3 months for best quality.
Can I freeze Dutch oven bread?
Yes! This bread freezes well. Wrap the completely cooled loaf or individual slices tightly and place them in a freezer-safe bag.
Thaw at room temperature and warm in the oven to help refresh the crust.
Here are a few more bread recipes you might enjoy:
Dutch Oven Bread
Ingredients
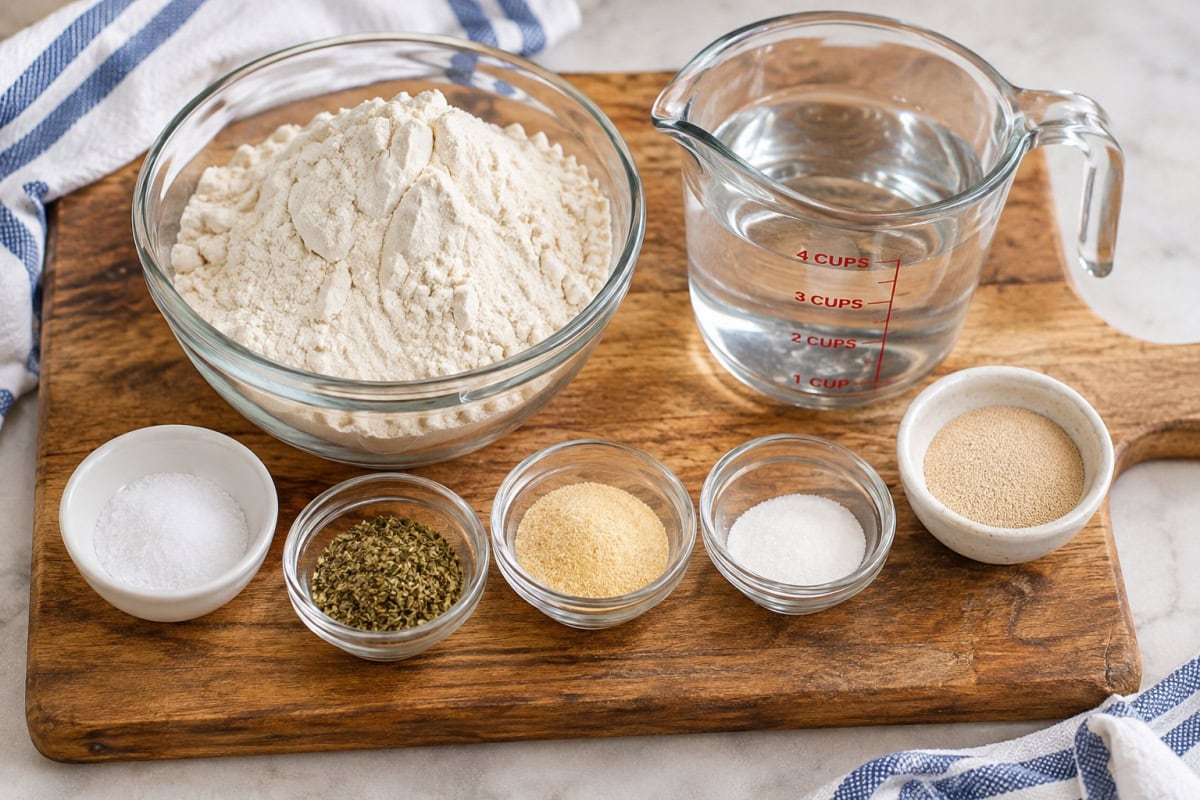
- 6 cups all purpose flour
- 1 tablespoon salt
- 1 tablespoon Italian seasoning
- 1 tablespoon garlic powder
- 2 teaspoon granulated white sugar
- 2 teaspoons active dry yeast
- 3 cups warm water (105℉)
Instructions
PREPARE THE DOUGH:
- In a large bowl, combine all of the ingredients except the warm water. Stir to combine. Add the warm water and mix together until a dough forms. The dough will be sticky. Cover the bowl loosely with a clean dish towel and allow to rise for at least 12 hours and no more than 24 hours.
BAKING THE BREAD:
- When you are ready to bake the bread, place your Dutch oven pot and lid in the oven and pre-heat the pot and the oven at the same time to 450℉.
- While the oven is heating, sprinkle some flour on a board or on your clean countertop and spill out the dough onto the flour. Sprinkle the top of the dough ball with a little bit of flour as well to keep your hands from sticking to it. The dough will be very soft so do your best to form it into a circle.
- Once the pot and oven are heated, remove the pot from the oven and gently place the dough into the heated pot. (It doesn't need to be perfect as the dough will take the shape of the pot).
- Using oven mitts (and I say this because I've forgotten before OUCH), place the lid back on the pot and put the pot back into the oven. Cook for 30 minutes covered.
- After the 30 minutes, uncover the pot, and cook for another 15 minutes until the top is golden and crispy. Let cool until it's safe to touch before slicing.
Notes
-
This recipe uses 6 cups of all-purpose flour and makes one large loaf.
-
The dough should be sticky after mixing; avoid adding unnecessary flour.
-
Allow 12 to 24 hours for the dough to rise, monitoring it for overproofing.
-
Preheat the Dutch oven and lid to 450°F, ensuring both are rated for that temperature.
-
Bake covered for 30 minutes, then uncovered for approximately 15 minutes, until golden.
-
If the center seems underbaked, check with an instant-read thermometer. A lean loaf like this generally reaches approximately 200–210°F when fully baked.
Nutrition
Nutrition information is automatically calculated, so should only be used as an approximation.










Does this bread bake at 450 degrees like you called for the preheating of the pan?
yes!
Bread turned out awesome the family loved it! I plan to make more with different flavor variations!
I only have an 8 quart, do you think it would turn out ok if I double the recipe?
I haven’t tried doubling the recipe, but you can certainly try!
I want to buy an enamelled dutch oven for making this bread. I bought a Logostini but the instructions said it could not be in the oven empty as you need for preheating. Le Crueset is so expensive. Any suggestions for an enamelled pot? Please and thanks.
I have the Martha Stewart Dutch oven and it’s great. Always on sale at Macys.
Can I make this bread in a 6 qt dutch oven?
Probably, but the dough may spread out and create a thinner loaf.
Can I use a dutch oven that’s cast iron to make this?
Yes, mine is a enameled cast iron pot and the bread does not stick to it. If yours is not enameled, you may want to sprinkle some flour in the bottom of the pot to make sure the bread doesn’t stick. 🙂
Hi Mindy,
Does this bread have to be covered when baking? I don’t have a Dutch oven or pot that can withstand the heat required. I only have a cast iron skillet.
It does need to be covered while baking for the first 30 minutes or the top will get a little TOO crispy. Could you maybe try tenting it with aluminum foil (not touching the dough) to give it some protection? Best of luck!
This bread looks so crispy and delicious!
Thanks Natalie!!
Do you use a towel or plastic wrap to cover rising bread?
You can use plastic wrap or just leave it uncovered in the microwave over-night. I’d hesitate to use a towel only because the dough is VERY sticky and would get all over it. But if you have a towel that you use for doughs then go for it! It will be fine with any option!
This recipe is amazing in every way! Easy to throw together in the evening, no kneading, and baking the next morning. Did I mention the taste is AMAZING? How do I store it so it lasts a few days?
I only have a 6 quart dutch oven. Will it be too flat if I try and use my 6 quart dutch oven?
Hi Claudia,
You could use it, but yes, the bread will be flatter than the bread in the photo. If you have a smaller oven-proof pot with a lid, that could work too though. 🙂